
Warm up your wardrobe with this Crochet Cardigan Free Pattern and finish a cozy layer for chilly evenings, outdoor walks, and family outings.
The tutorial by Kham & Crochet is a fantastic guide for anyone wanting to create a cozy, stylish garment from scratch. The Crochet Cardigan project is perfect for beginners and intermediate crocheters alike, offering clear instructions and helpful tips. This lightweight, open-front cardigan is comfortable and breathable, making it a versatile piece to wear at home, in the office, or even on casual outings.
Cozy Crochet Cardigan Free Pattern For Fall & Winter
The cardigan’s simple yet elegant design features a relaxed fit and a textured stitch pattern that adds subtle beauty. You can easily customize it by choosing your favorite yarn color, adjusting sleeve length, or adding pockets for extra practicality. These options give the cardigan a personal touch and make it stand out.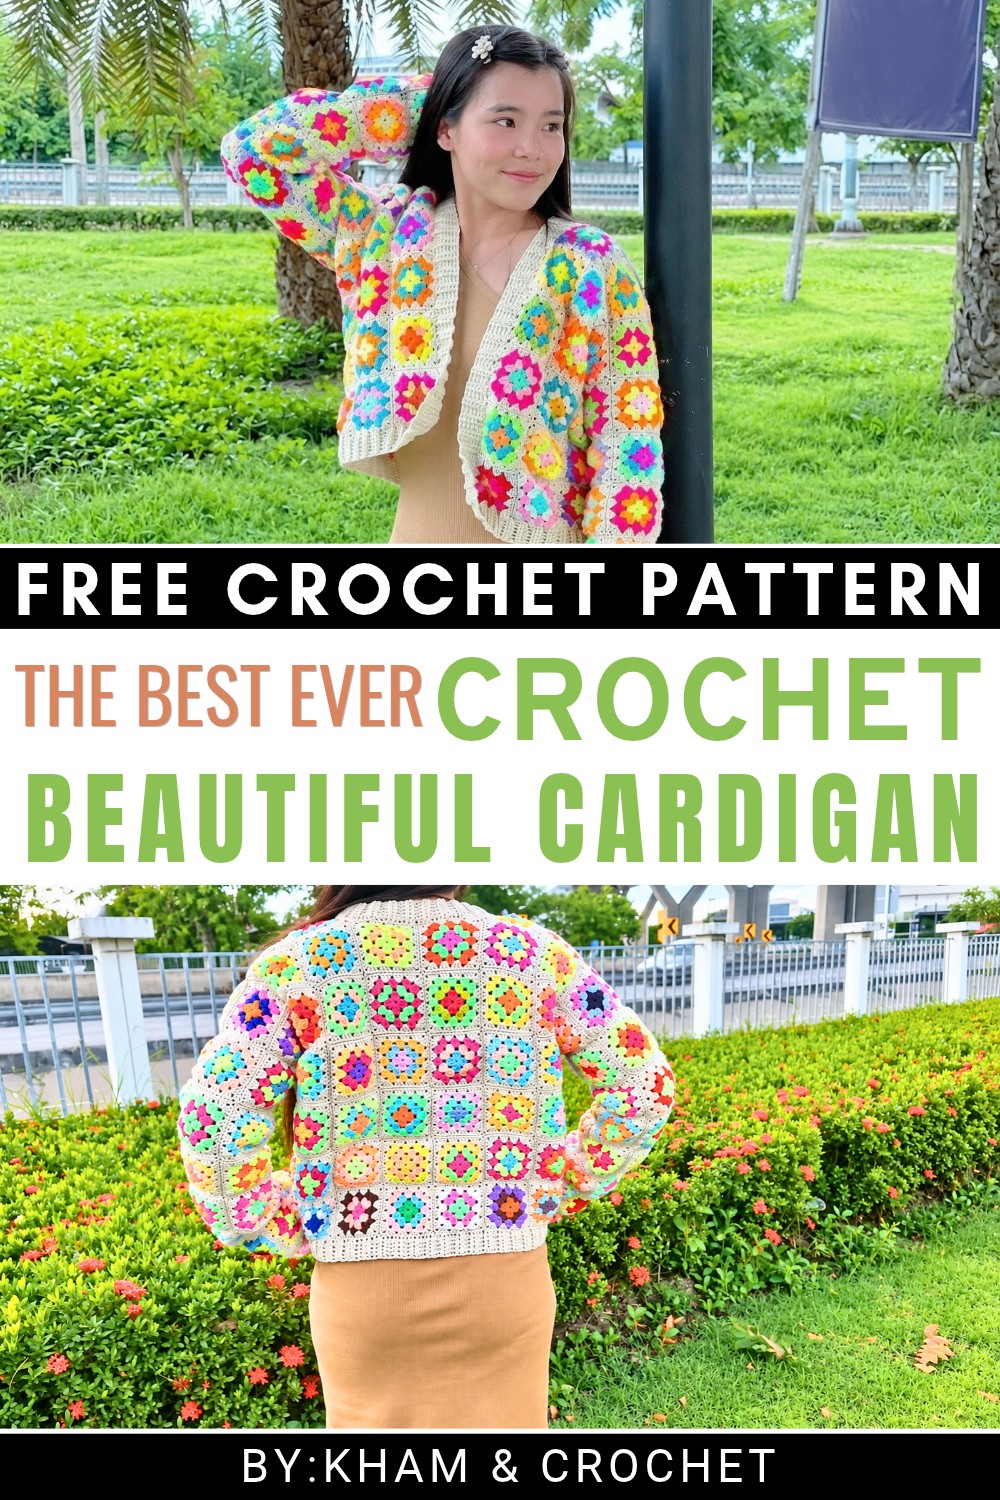 In terms of making the cardigan, the process starts with creating a foundation chain, then working rows in double crochet stitches. Shaping the sleeves and body involves gentle increases and decreases in stitches, all explained clearly in Kham & Crochet’s tutorial.
Because of its adaptable style and comfort, this crochet cardigan can be worn over dresses, paired with jeans, or layered for warmth outdoors. It’s a handmade project that results in a chic, wearable piece perfect for many occasions.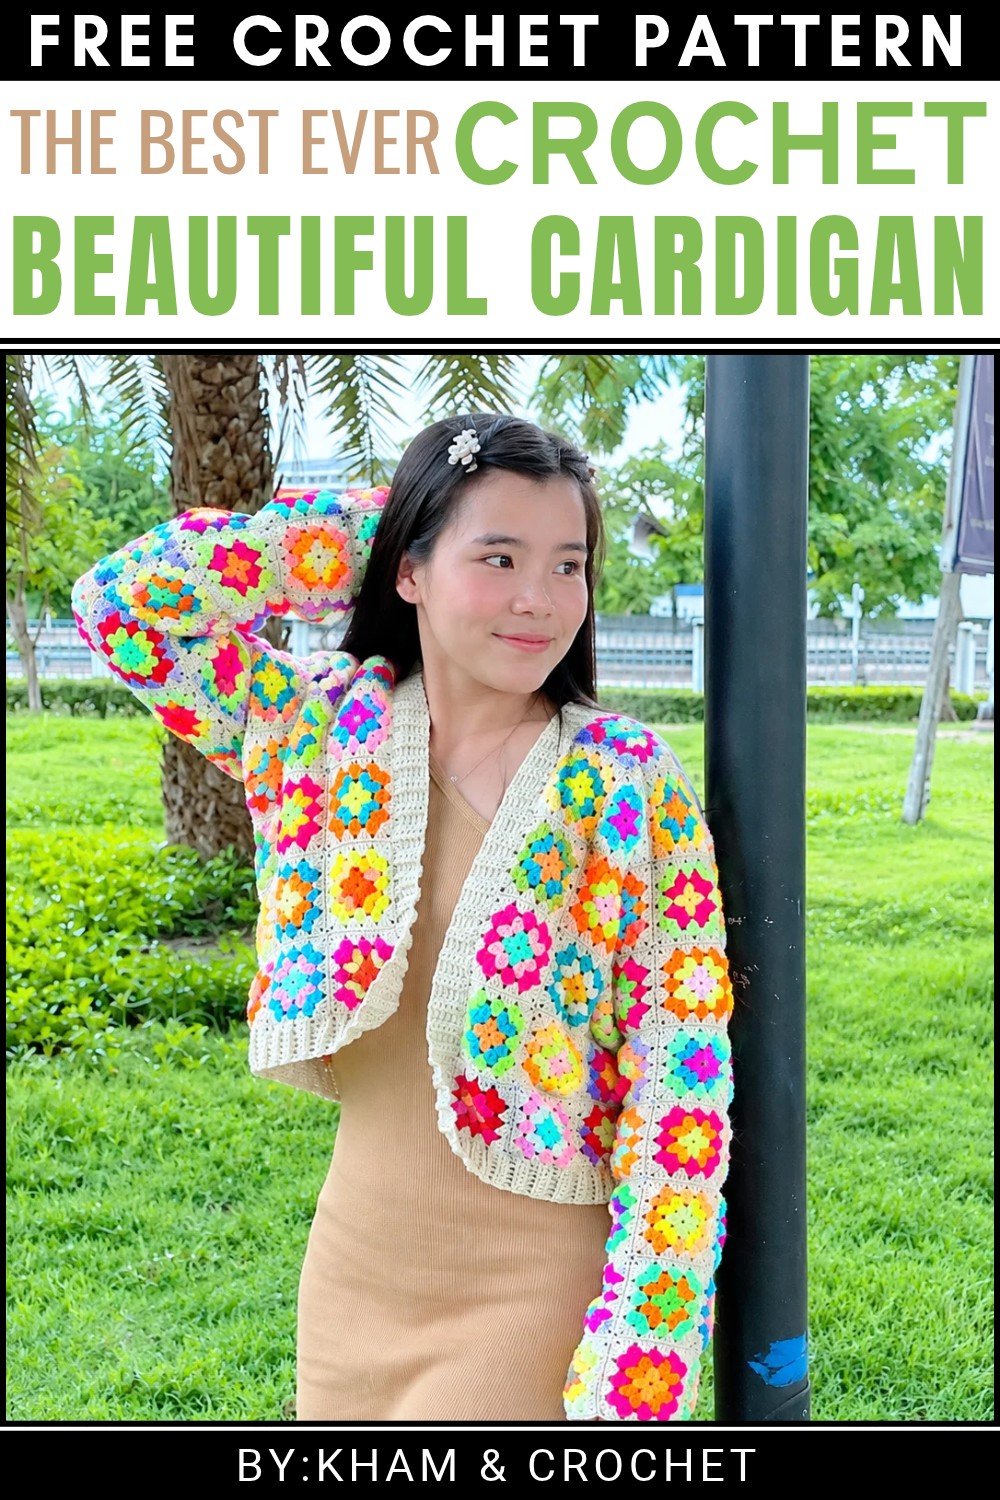
About the Pattern
This crochet motif top offers a vibrant and customizable approach to garment making, piecing together exquisitely colored floral motifs to form a chic wearable. Each motif begins with a delicate flower at the center, expands outward to a square, and is joined to neighboring squares to create a unique patchwork effect. The final construction is shaped and bordered for a tailored, professional finish, making this project both a celebration of color and a demonstration of modular crochet design.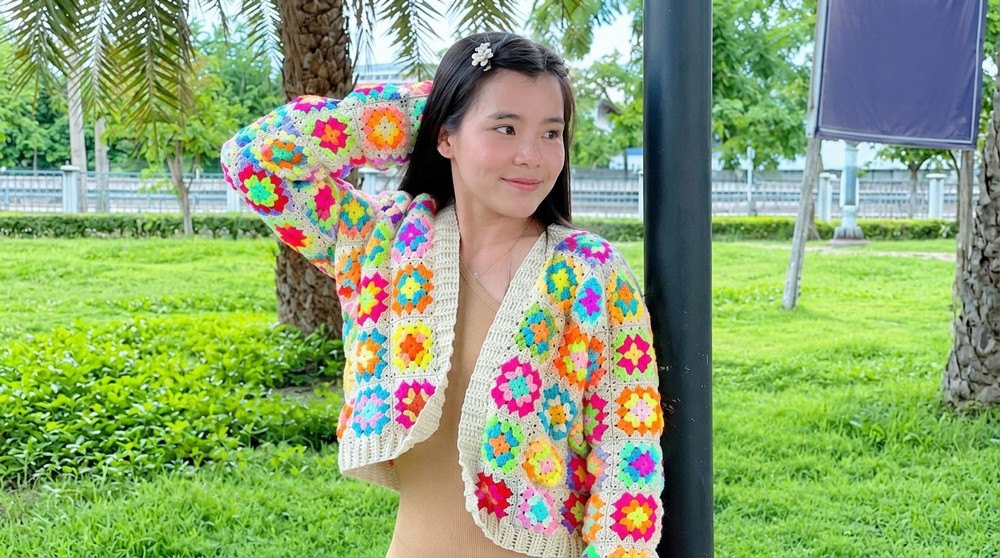
Pattern at a Glance
- Method: Construct individual floral motifs, join them edge-to-edge, then shape into a finished top.
- Motif Shape: Centered on a flower, worked into a square frame for easy joining.
- Joining: Slip stitch or similar technique for sturdy construction and visual unity.
- Edging: Additional rows for neckline, armholes, and hem for polished look and secure wearability.
- Customization: Easily altered for color, motif arrangement, and garment length.
Important Notes
- Consistency in motif size is critical for an even finished garment; block motifs if needed.
- Color changes add visual impact—fasten off and weave in ends neatly at each transition.
- Plan motif layout before joining for color balance and preferred fit.
- Try on as you go, particularly during border/edging phases, to ensure correct shaping.
- Arrange armhole and neckline shaping for comfort and design.
Difficulty Level
Intermediate.
Requires the ability to work in rounds, execute color changes, join motifs using slip stitch or similar joining methods, and perform basic garment shaping and finishing.
Supplies Needed
- Fingering or sport weight cotton or cotton blend yarn in four shades:
- Flower center (coffee/brown)
- Main petal (pink)
- Petal contrast (yellow)
- Motif framing color (milky white or neutral)
- Crochet hook size 4/0 (2.5 mm or as needed for gauge)
- Scissors
- Yarn needle (for weaving in ends)
- Stitch markers
- Measuring tape
Size & Measurements
- Fit: Customizable by motif count and layout.
- Motif Size: Each finished square motif approx. 3–4 inches per side, depending on yarn and tension.
- Garment Size: Based on bust and desired top length; typical layout is 4–6 motifs wide and 3–5 motifs long.
Gauge & Stitch Details
- Gauge: 2 motifs joined side by side should measure approx. 7–8 inches across unblocked.
- Main stitches: Chain, slip stitch, single crochet, double crochet, treble crochet (if indicated).
- Shaping stitches: Single and double crochet for borders and finishing.
Crochet Abbreviations
- ch – chain
- sl st – slip stitch
- sc – single crochet
- dc – double crochet
- tr – treble crochet
- sp – space
- st(s) – stitch(es)
- rnd – round
- rep – repeat
- FO – fasten off
Special Stitch Guide
- Magic ring: Wrap yarn, insert hook, pull up loop, work designated stitches into adjustable circle, pull tight.
- Slip stitch join: Insert hook in edge stitches of two motifs, yarn over, pull through both motifs and loop on hook.
Complete Crochet Pattern
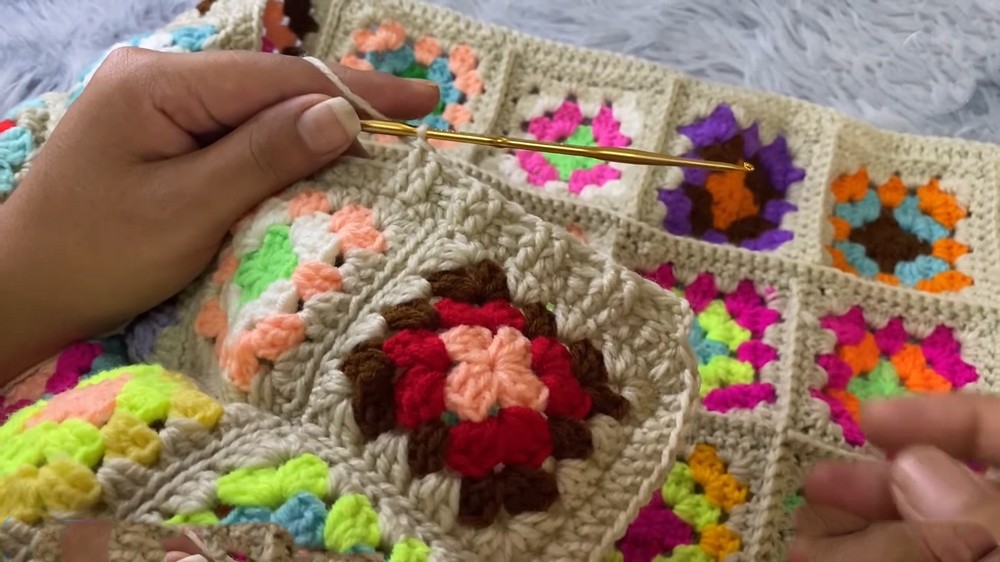
1. Creating the Floral Motifs
Motifs are made in rounds:
- Center and Rounds – Coffee/Brown Yarn:
- Rnd 1: Ch 4, join with sl st to form ring.
- Into ring, work specific number of sc/dc as directed for center ring.
- Petal and Shape Rounds – Pink, Yellow, and Milky White Yarns:
- Rnd 2: Join pink yarn, ch, work petals around (commonly ch 2, 2 dc, ch 2, sl st) in each st or sp as indicated, forming petals.
- Rnd 3: Switch to yellow yarn, repeat petal or partial-petal round (e.g., [ch 2, dc, ch 2, sl st] around).
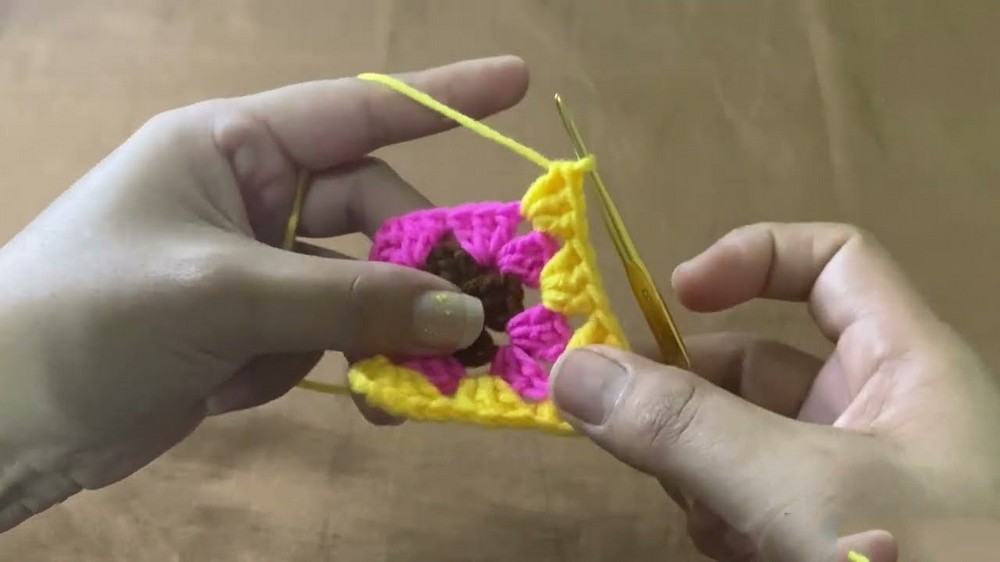
- Rnd 4: Join milky white yarn, continue working in rounds, expanding petal clusters, squaring the motif by adding increases at four corners.
- Rnds 5–6: Continue building the motif out; at each corner, 2 dc, ch 2, 2 dc to keep the square shape. Along sides, dc or sc in each st or sp for stability.
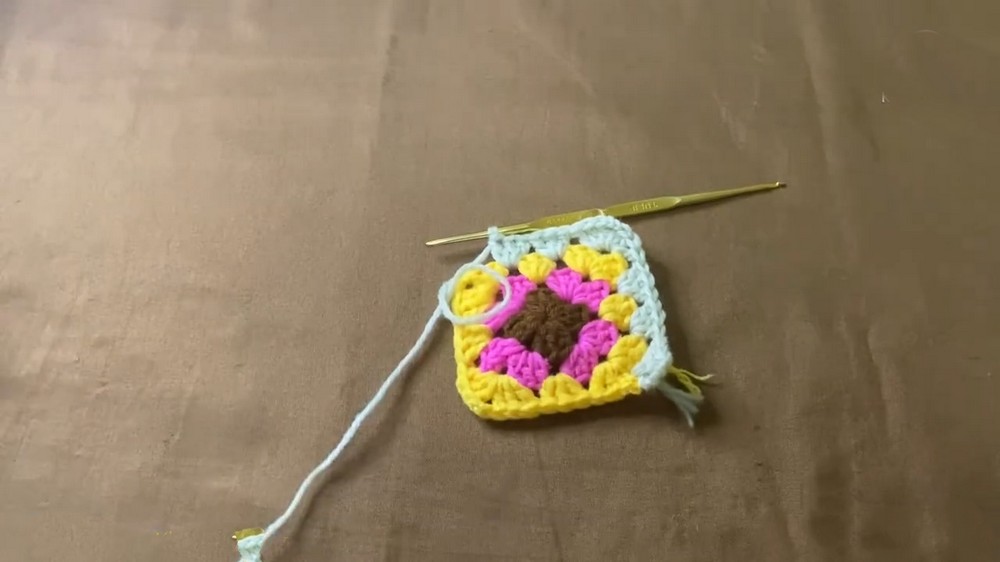
- FO and weave in ends for each color section.
- Repeat until the required number of motifs for garment size are made.
2. Connecting the Motifs
- Layout:
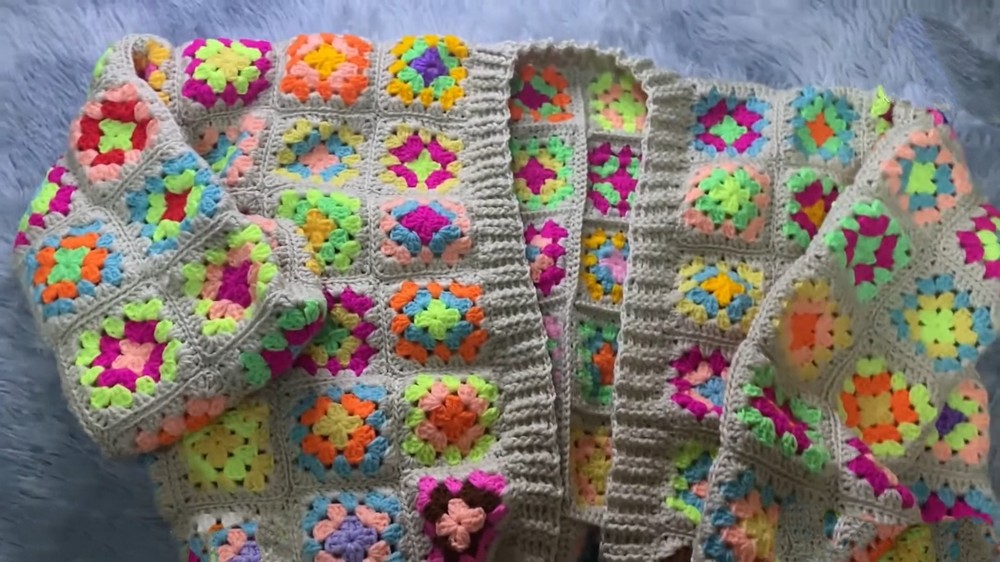
- Arrange motifs in desired grid (e.g., 4 wide by 5 long) for both front and back panels.
- Ensure petal and color alignment for visual harmony.
- Joining:
- Hold motifs with right sides facing out.
- Using slip stitch (or alternative joining), join through outer loops of same row’s edge stitches.
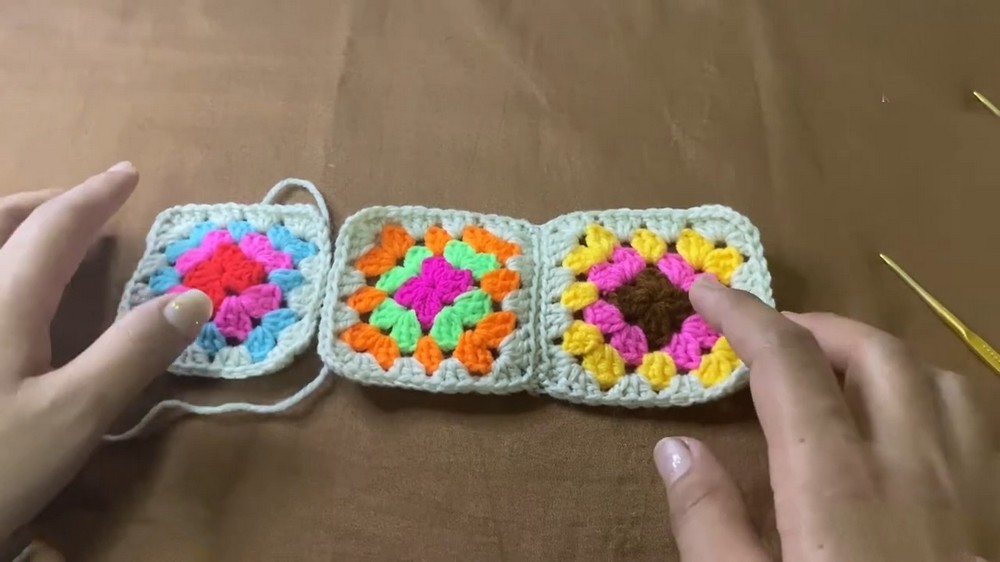
- Seam motifs edge-to-edge, first assembling rows, then joining rows column-wise.
- Repeat for back panel; join front and back at sides and shoulders, leaving space for armholes and neckline.
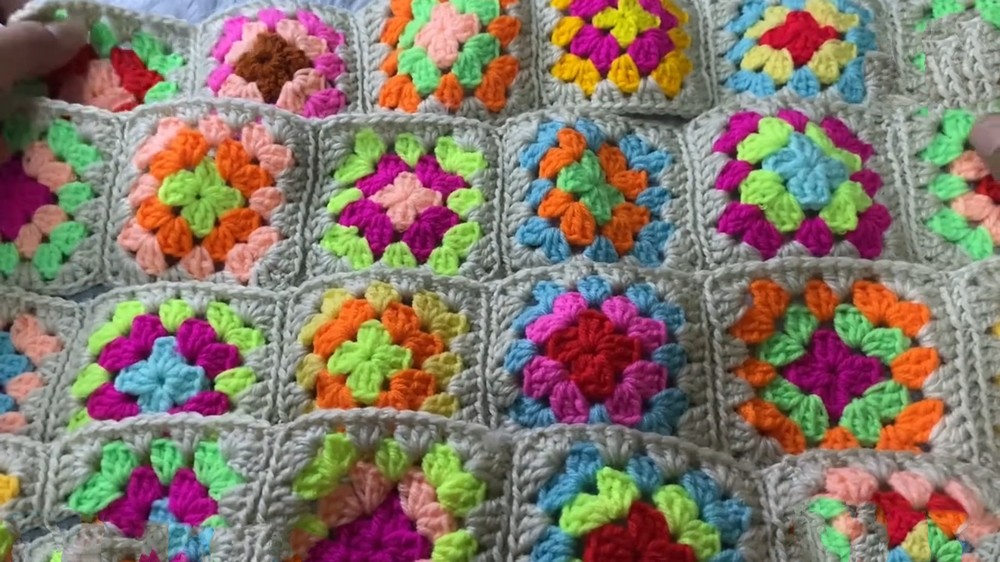
3. Shaping the Top
- Building the Edges:
- Along neckline and armholes, join yarn in place.
- Row 1: Work sc or dc evenly around the edge to stabilize, ch 1, turn.
- Row 2–3: Rep sc or dc row, working 2 sc or dc at inner/outer points for extra shaping and comfort.
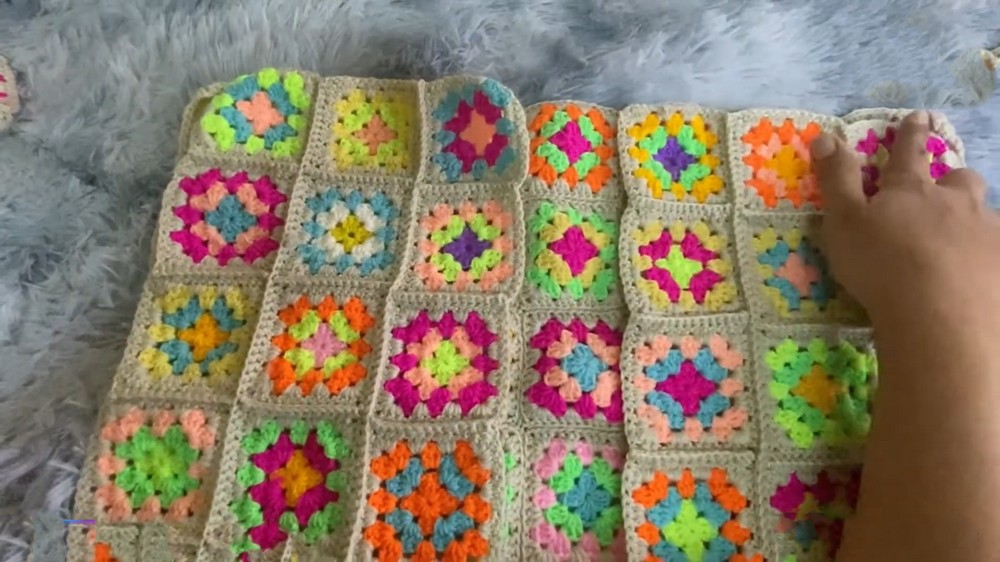
- FO and weave in ends.
- Adding Length:
- For extended length, continue working additional rows in dc or sc at lower hem until desired fit is achieved.
- Final Touches (Border):
- Along all garment openings (hem, neck, armholes):
- Work a final round of sc, optionally incorporating a decorative border (e.g., picot: [sc, ch 2, sc in same st]).
- FO and neatly weave in remaining ends.
- Work a final round of sc, optionally incorporating a decorative border (e.g., picot: [sc, ch 2, sc in same st]).
- Along all garment openings (hem, neck, armholes):
Assembly & Finished Size
After sewing motifs and shaping, block the top to measurements for crisp edges and an even drape. Check for symmetry in color layout and seam alignment. Finished size depends on motif count and strip arrangement; standard construction will fit most adult sizes, with easy adjustment by making more or fewer motifs. Try the garment on during edging to refine armhole and neckline fit.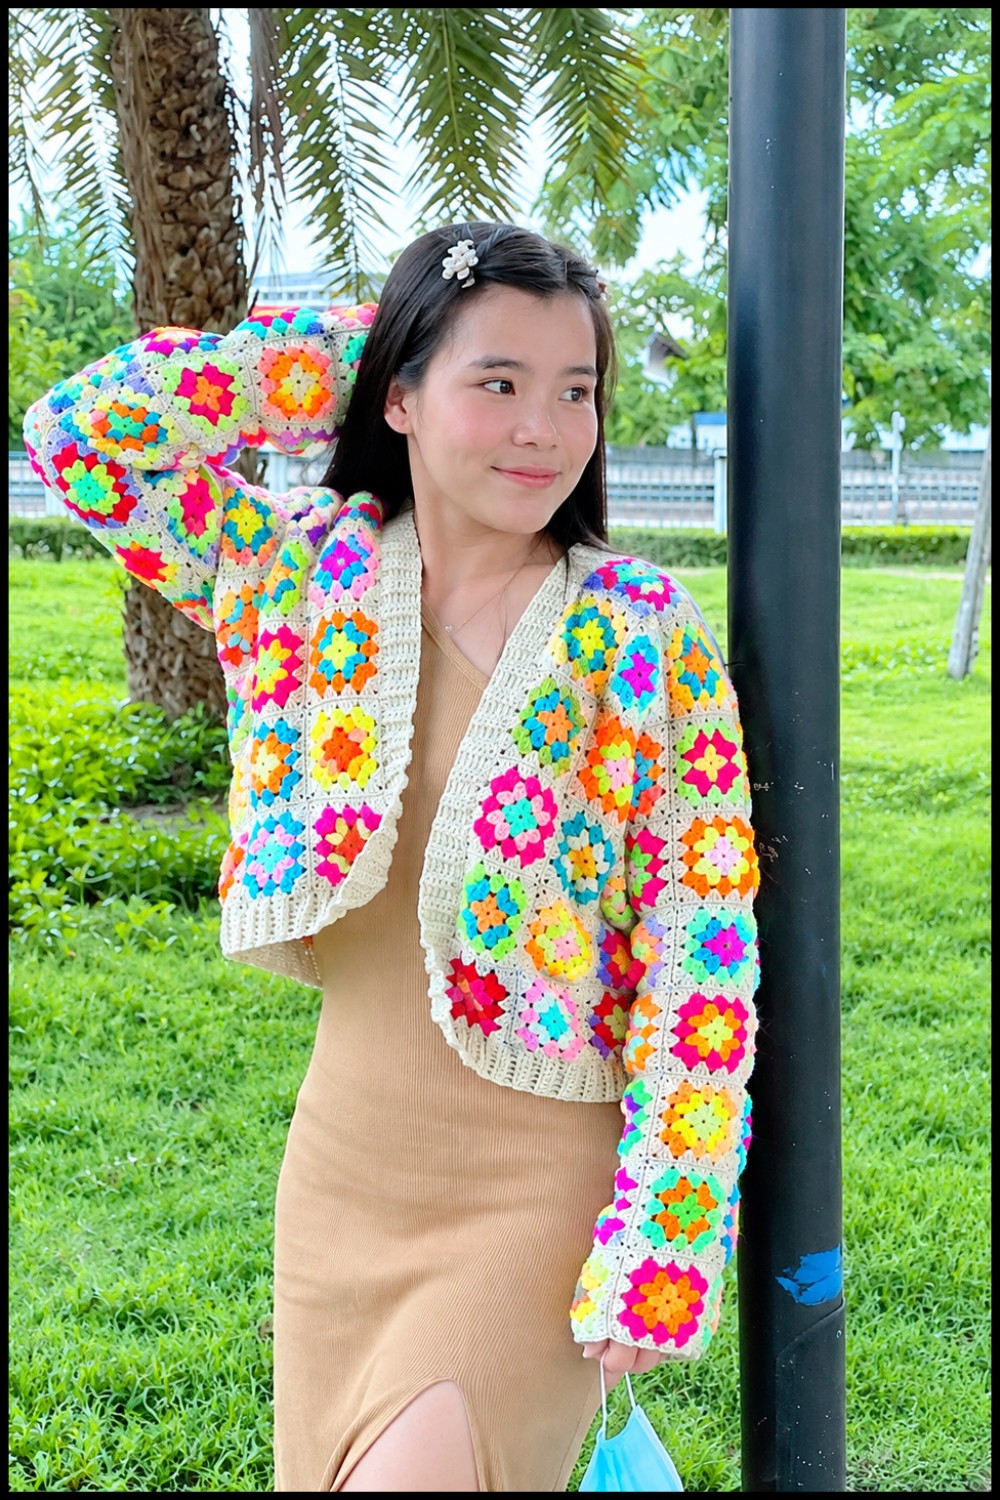
Conclusion
Emphasizing stepwise color placement, motif joining, and tailored borders, this motif crochet top pattern guides the maker through modular clothing design, combining creativity and structural craft. The resulting top is not only an expression of vibrant handmade artistry, but also a practical and comfortable addition to any wardrobe, allowing for color and size customization to suit any style or season.
