Make a crochet tie cardigan or vest pattern with this easy, stylish design, perfect for adding handmade charm to your wardrobe or projects
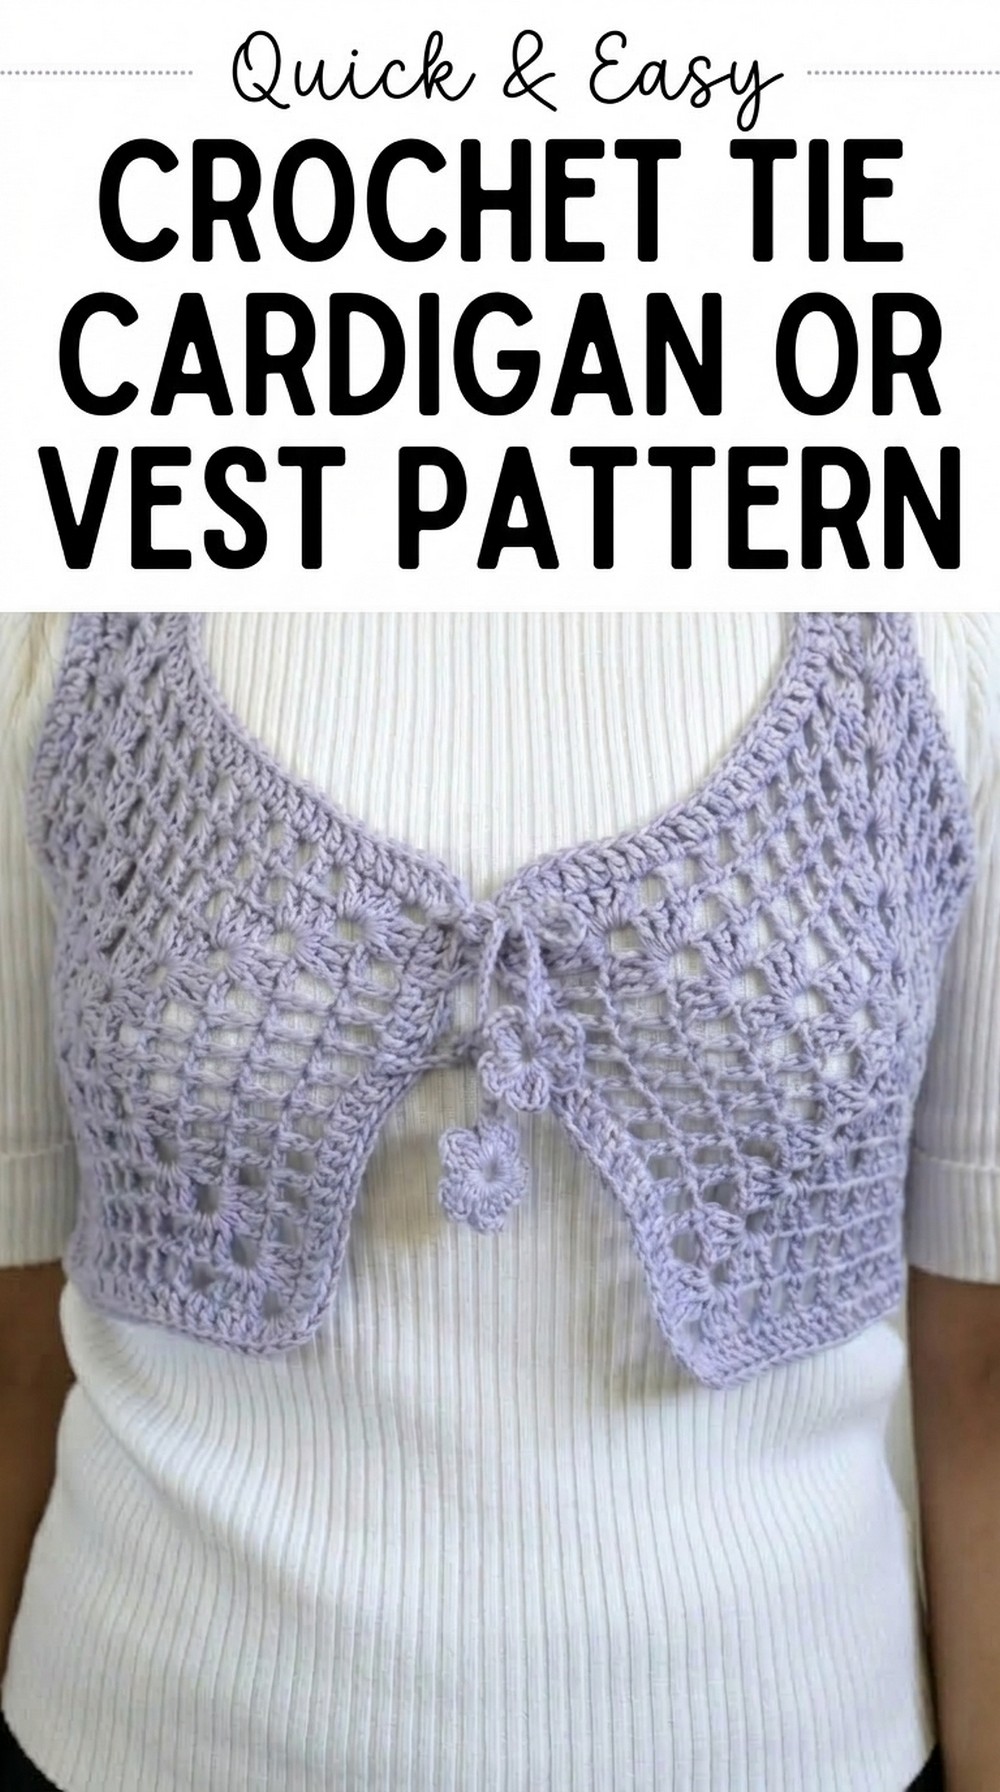
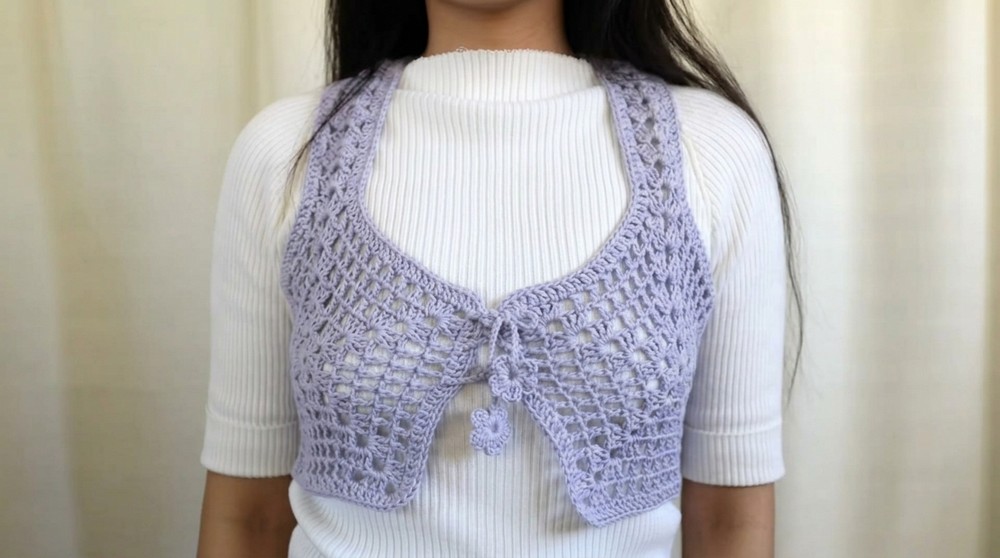
Stunning Free Crochet Tie Cardigan and Vest Pattern Perfect for Cozy Layering
It features a stylish and cozy cardigan or vest with tie straps for a perfect fit. Made using hexagon shapes, it has a lovely and unique texture that stands out. The extended double crochet technique gives it a modern and elegant appearance.
This Free Crochet Tie Cardigan and Vest Pattern is perfect for adding a light layer on cool mornings or wearing it in warmer weather for a casual look. It can be customized with your favorite colors to match your style. 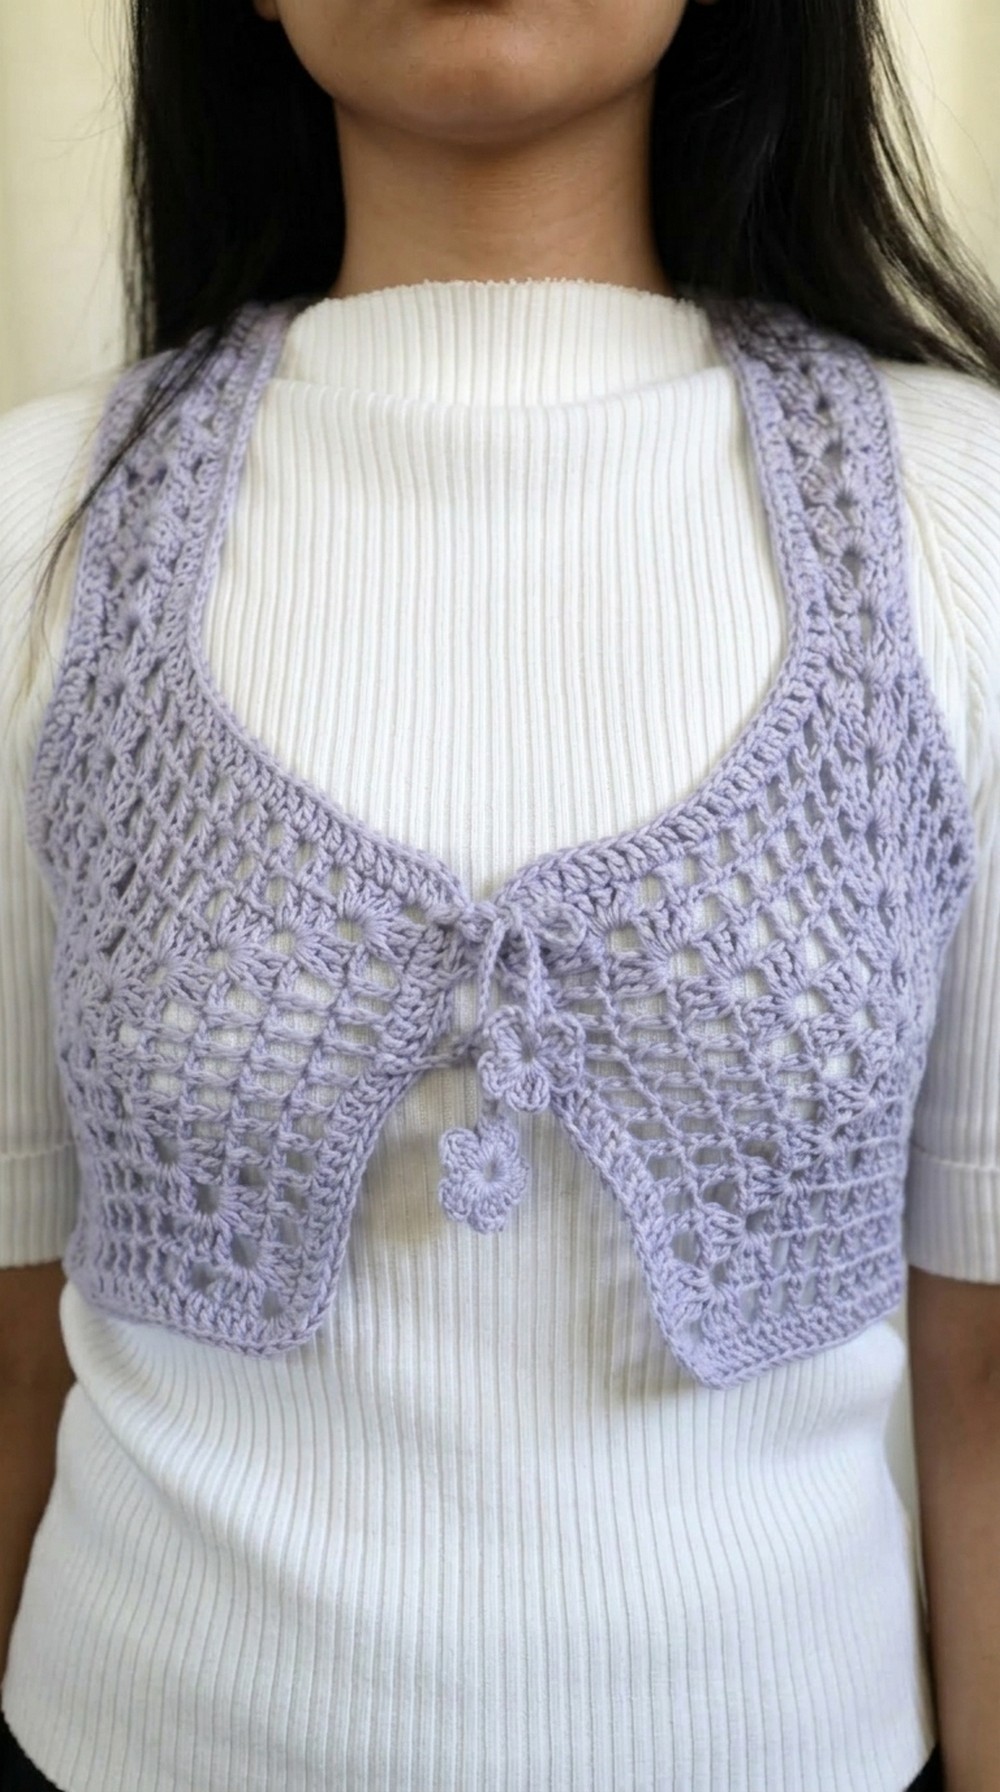
Whether you’re a beginner or have some experience, it is easy to follow and enjoyable to complete. This project adds a personal and charming touch to your wardrobe and makes a wonderful handmade gift for loved ones.
Materials Required
- Yarn: Lightweight Category 3 yarn (choose a yarn type you prefer).
- Crochet Hook: 3.75 mm hook for the main pattern; 2.5 mm hook for making straps (optional).
- Additional Tools: Yarn needle for weaving ends, scissors, and a measuring tape.
- Other Supplies: Stitch markers (optional, for marking specific parts).
- Skill Level: Intermediate. Familiarity with extended double crochet (EDC) is a plus.
- Gauge: Adjust hook size to match gauge if needed. Measure your work frequently.
Special Techniques
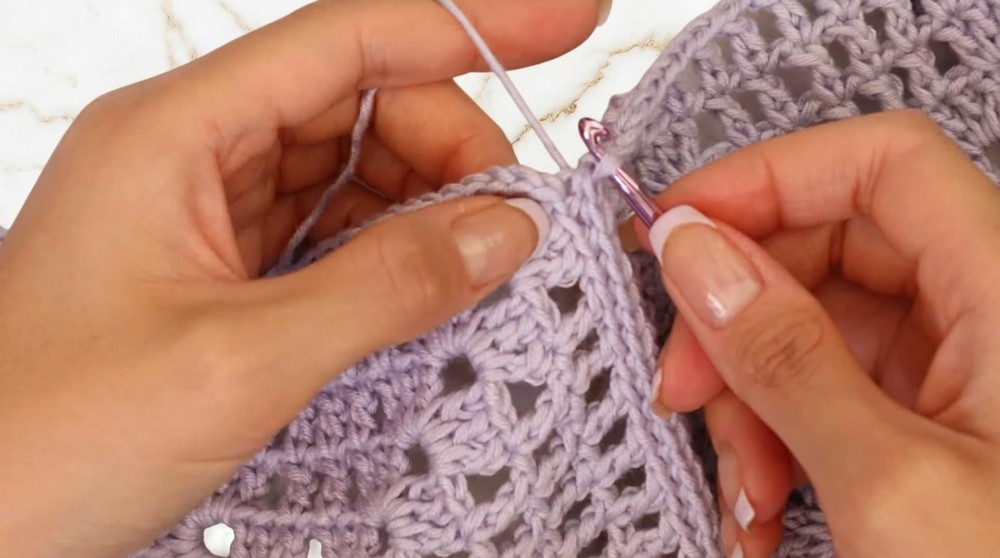
- Extended Double Crochet (EDC):
- Yarn over and insert your hook into the stitch as you would for a regular double crochet.
- Pull through the yarn, resulting in three loops on the hook.
- Yarn over and pull through the first loop—this creates an extra “extension.”
- Yarn over again and pull through two loops, twice, to complete the stitch.
Pattern Instructions
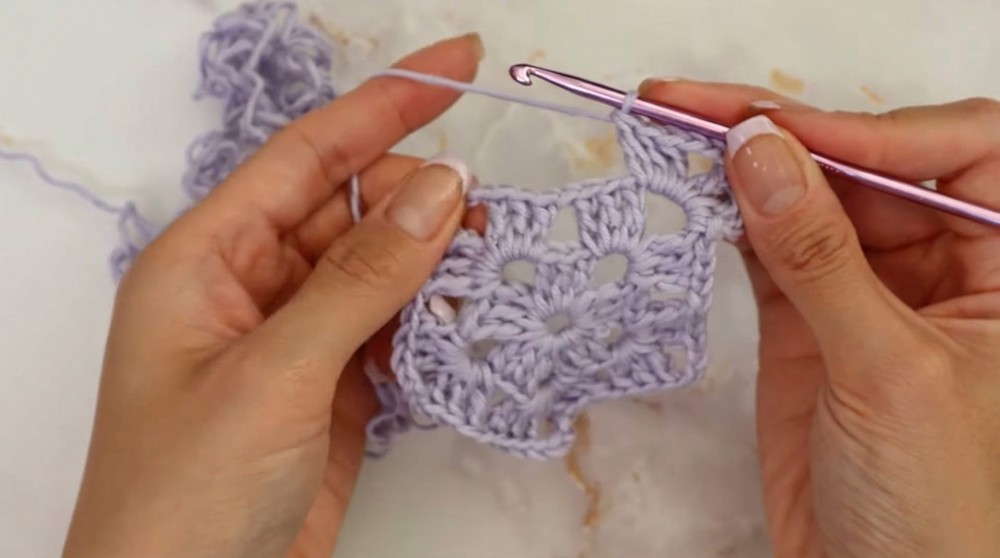
Step 1: Creating the Hexagons
- Hexagon Construction
Each hexagon begins as a pentagon and expands round by round.
- Round 1:
- Start with a magic circle.
- Chain 3 (counts as EDC), and place 2 more EDCs in the circle.
- Chain 3 (this forms the corner space), then place another set of 3 EDCs.
- Repeat 4 more times to create five sets of 3 EDCs separated by chain 3 spaces.
- Slip stitch into the top of the chain 3 to join the round.
- Round 2:
- Slip stitch into the first chain space.
- Chain 3, then place 2 EDCs into the space. Chain 3 and add another cluster of 3 EDCs into the same chain space to create a shell.
- Chain 1, then move to the next chain 3 space and repeat the shell.
- Continue until all chain spaces contain shells.
- Close the round by slip stitching into the top of the chain 3.
- Expanding the Hexagon:
- For every new round, increase the number of posts between shells by 2. Continue by creating shells in chain spaces, and add EDC posts between shells (aligned with the previous round) separated by chain 1 spaces.
- Follow the pattern until the measurement between two shells of the hexagon equals approximately 1/4th of your bust size. If your bust is 32 inches, aim for roughly 8 inches.
- Repeat Steps:
- Make three hexagons for the back panel and two hexagons with straps for the front panels.
- Make three hexagons for the back panel and two hexagons with straps for the front panels.
Step 2: Adding Straps to the Front Hexagons
- Final Round on Front Hexagons:
- Complete the final round on the front hexagons per the prescribed pattern.
- Once at the final shell space, chain 3 and create a shell.
- Begin Straps: After completing the shell, chain 3 and flip your work. Add a shell into the chain space at the edge.
- Anchor stitch: Place an EDC in the top of the chain 3 from the previous round.
- Repeat this sequence until the strap measures 6.5 inches or desired length. Adjust length based on how high or low you want the vest to sit.
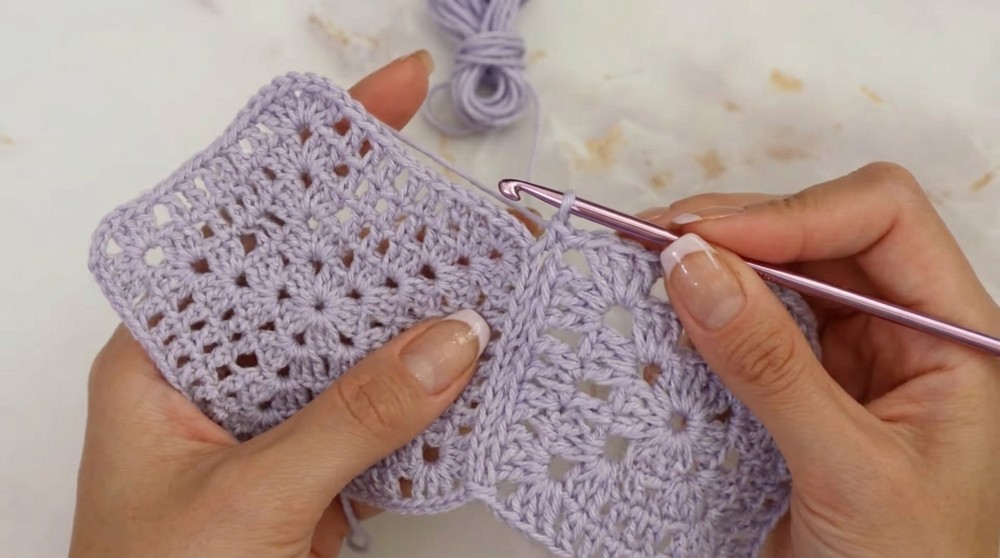
Step 3: Seaming the Panels Together
- Prepare for Joining:
- Use slip stitches for a seamless join by working into the inner loops only of corresponding chains/panels.
- Start with the back panels. Join two hexagons at their edges, slip stitching from one chain before the first post to one chain after the last post.
- Attach the third hexagon to the previously joined panels, following the same method.
- Attach Front Panels to the Back:
- Align the front hexagons to the back (right sides facing each other).
- Slip stitch along one edge of each hexagon, similar to previous joins.
Step 4: Shoulder Seams
- Join Shoulder Straps:
- Align shell spaces of the straps with the corresponding shells of the back panels.
- Slip stitch into the posts and chain spaces until the seam lies flat and secure.
Step 5: Creating Borders
- Armhole Borders:
- Start under the armpit and work double crochets all the way around the armhole.
- Place 1 double crochet for each chain space and 1 for each post, and add 2 double crochets in wider chain spaces of the strap for even coverage.
- Slip stitch to the starting stitch to join and secure the border.
- Main Body Border:
- Begin at the side seam of the vest body.
- Work double crochets along the edges:
- For chain spaces, add equivalent double crochets (e.g., chain 3 = 3 double crochets).
- For corners, add 5 double crochets to create rounded edges.
- Continue around the vest, ensuring symmetry and smooth edges. Slip stitch to the starting stitch to complete.
Step 6: Adding Straps
- Flower Straps:
- Create a flower using a magic circle: Chain 5, slip stitch into the first chain, then repeat rounds of chain 3, 2 double crochets, chain 3, and slip stitch.
- Add a chain to the end of the flower, choosing the desired length for closure straps (e.g., 18 inches).
- Finish the strap with another flower.
- Attach Straps:
- Thread one strap through the middle spaces of the front panels in your desired arrangement. Tie a bow to secure.
Finishing the Pattern
- Weave in Ends: Use a yarn needle to hide all loose ends seamlessly into the project.
- Blocking (Optional): Wet block or steam your vest for better shape and finish.
- Final Touches: Ensure all straps are secure, and borders are uniform.
Tips for Maintaining the Pattern
- Care Instructions:
- Hand wash your vest in cold water and lay flat to dry. Avoid direct sunlight during drying to prevent yarn fading.
- Adjusting Size:
- Increase or decrease hexagon sizes or strap lengths based on individual preferences.
Final Words
Congratulations on completing your crochet hexagon vest, This versatile and creative design adds flair to your wardrobe while showcasing your craftsmanship. Whether you enjoyed learning extended double crochets or explored new techniques, this vest blends functionality and beauty perfectly.