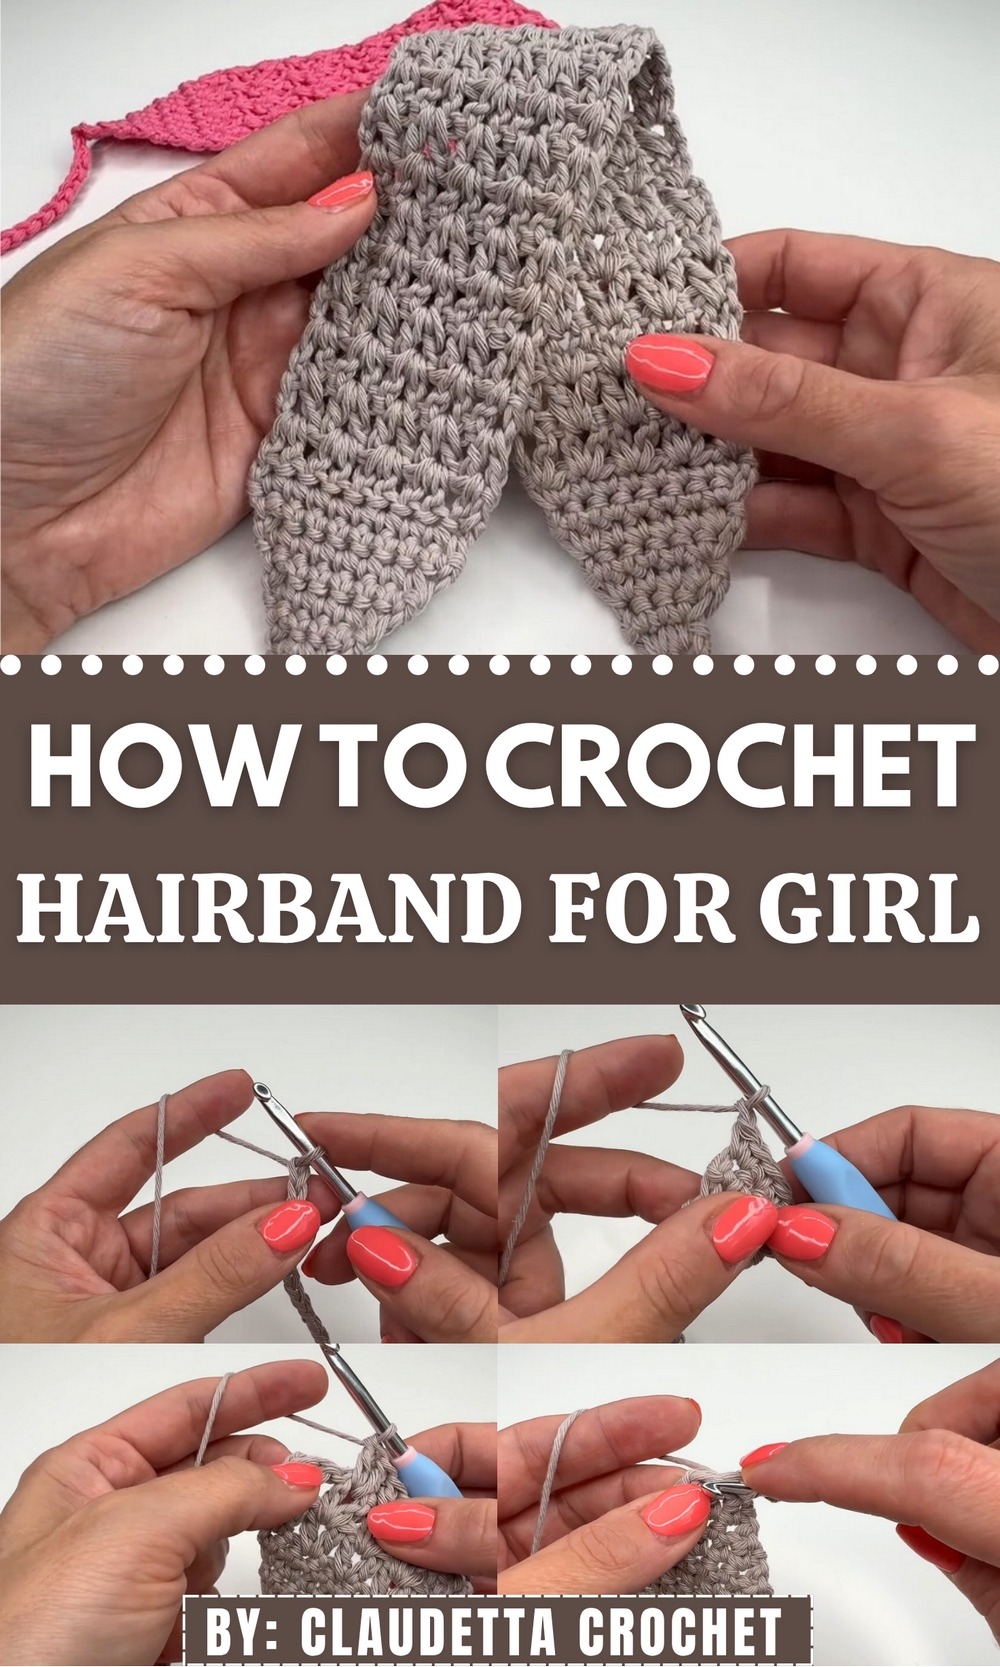
Style effortlessly with the Free Crochet Hairband Pattern, a chic and quick project perfect for everyday wear or thoughtful handmade gifting.
A breeze sweeps through as strands of hair cascade over your face—moments like these call for an accessory that is as practical as it is captivating. The crochet hairband pattern is a cherished solution, offering not just functionality but also timeless beauty. Perfect for taming unruly locks or adding a subtle accent to an outfit, this versatile accessory goes beyond its purpose, seamlessly combining charm and utility.
Stylish Crochet Hairband Pattern for Girly Aesthetic Looks
They’re not only a great way to personalize your accessories but also a gateway to expressing yourself freely through colors and form. A small, simple creation, but one that adds so much value to your daily life, making every moment feel just a little more stylish.
Materials
- Yarn:
- Example used: Paintbox Yarns Cotton Aran (100% cotton, medium/Aran weight).
- Any similar 100% cotton yarn is recommended for comfort and breathability.
- Hook: 4.5 mm crochet hook (or size suitable for your yarn).
- Yarn needle: For weaving in ends.
- Scissors.
Special Stitches & Techniques
- Chain (ch) – basic starting stitch.
- Single Crochet (sc) – used for the ties and triangular shaping.
- Double Crochet (dc) – used for the open lace pattern.
- Increase in sc – work 2 sc into the same stitch.
- Single Crochet Decrease (sc2tog) – used in the second triangle:
- Insert hook into next stitch, yarn over and pull up a loop (2 loops on hook).
- Insert hook into next stitch, yarn over and pull up a loop (3 loops on hook).
- Yarn over and pull through all 3 loops on the hook.
- Measuring – you will work the main patterned section until the headband plus first triangle measures about 30 cm from the point of the first triangle to the top edge.
Sizing
- The sample has:
- A starting tie of 41 chains.
- A lace pattern worked over 9 stitches, for a total of 22 pattern rows, ending with a length (first triangle + lace section) of approximately 30 cm (slightly stretched).
- 30 cm corresponds to the distance from forehead to over the crown to roughly the ears, leaving enough length from both ties to knot comfortably.
You may adjust the pattern length for different head sizes (see suggestions at the end).
Abbreviations (US Terms)
- ch = chain
- sc = single crochet
- dc = double crochet
- sc2tog = single crochet 2 together (decrease)
- st(s) = stitch(es)
- rep = repeat
- RS = right side
- WS = wrong side
Pattern Instructions
1. First Tie & Beginning Triangle
- Make a slip knot.
- Chain 41.
These 41 chains form the first tie. The triangle will be worked back into the last chains near the hook.

- Row 1 (Start of triangle):
- Count 2 chains from the hook (do NOT count the loop on the hook): 1, 2.
- In the 2nd chain from the hook, work 2 sc.
- You now have 2 sc in this row.
- Row 2:
- Ch 1, turn.
- In the first sc, work 1 sc.
- In the second sc, work 2 sc.
- You now have 3 sc in this row.
- Row 3:
- Ch 1, turn.
- Work 1 sc in each stitch across until the last stitch.
- In the last stitch, work 2 sc.
- You now have 4 sc.

- Continue increasing in this way:
- Each row:
- Ch 1, turn.
- Work 1 sc in each stitch across until the last stitch.
- In the last stitch, work 2 sc.
Increase until you have 9 sc in a row.
You can count rows, or simply count stitches at the end of a row:
- Target: 9 single crochet stitches across.

- Each row:
At this point, you have a small triangle worked in sc, with its base having 9 stitches.
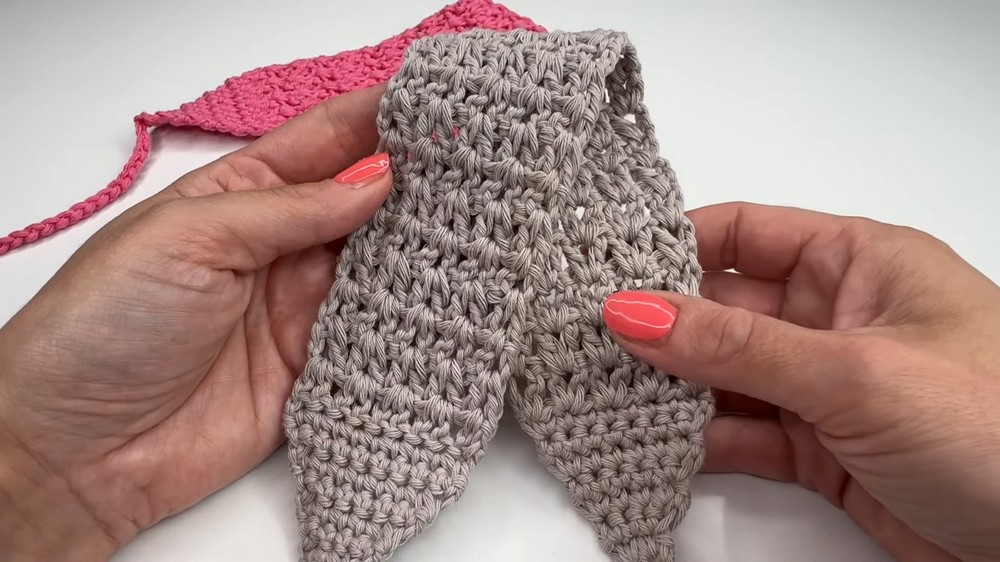
2. Lace Pattern Section (Main Body of Headband)
Now the headband pattern begins, worked over 9 stitches.
Setup for Lace Pattern
- Row 1 of pattern (first lace row):
- Ch 2 (these count as the first dc).
- Yarn over, insert hook into the first sc, work 1 dc.
→ You now have “ch-2 + 1 dc” in the first stitch. - Skip next stitch.
- In the next stitch (3rd sc from the beginning of the row), work 2 dc in the same stitch.
- Skip 1 stitch, work 2 dc in the next stitch, and repeat to the end:
- Skip 1 st, 2 dc in next st,
- Skip 1 st, 2 dc in next st,
- Continue until you reach the last st.
- In the last stitch, also work 2 dc.
You should have groups of paired dc across the row.
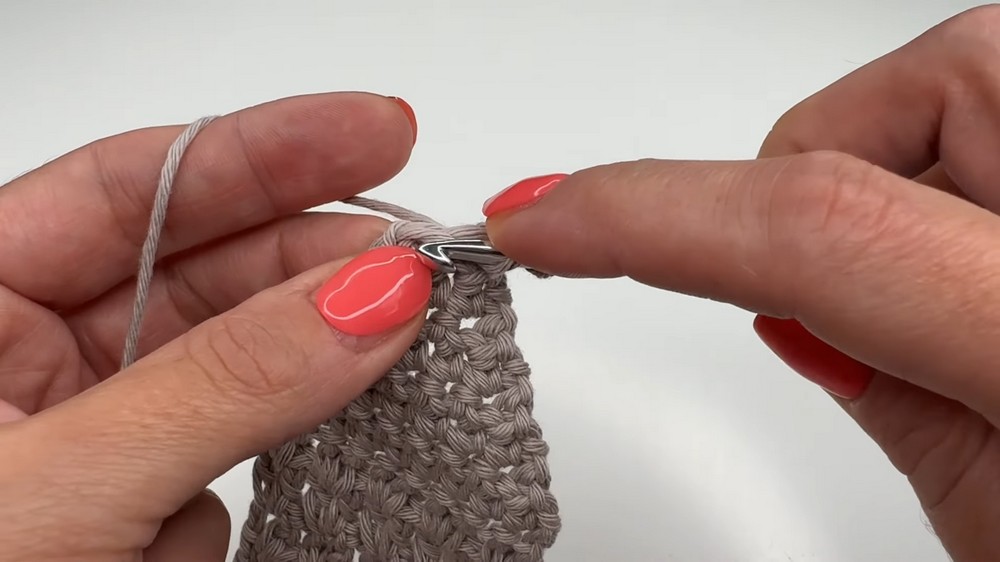
- Row 2 (repeat row – this is the row you will repeat for length):
- Ch 2, turn (counts as first dc).
- From now on, you always work between the dc pairs from the previous row, into the spaces.
- Yarn over, insert hook between the first two dc of the previous row, work 1 dc.
→ Together with the ch-2, this forms a pair. - For each following space between a pair of dc:
- Work 2 dc into the space between the two dc below.
- Work 2 dc into the space between the two dc below.
- Continue this across the row:
- 2 dc into each “gap” between pairs of dc.
- At the end of the row, the last pair is also worked into the final space between the last 2 dc of the previous row.
- Continue Repeating Row 2:
- Repeat Row 2 (ch 2, turn, then 2 dc in each space between dc pairs) until:
- From the very tip of the first triangle (the point near the first tie) to the top edge of your lace section measures about 30 cm, when slightly stretched.
- In the example, this corresponds to 22 lace pattern rows.
Adjust the number of rows according to your head size and yarn elasticity if necessary.
- Repeat Row 2 (ch 2, turn, then 2 dc in each space between dc pairs) until:
3. Second Triangle (Shaping the Other End)
Now you will shape the opposite end to mirror the first triangle, then add the second tie.
- Row 1 (after lace section):
- Ch 1, turn.
- Work 1 sc in each stitch across, for a total of 9 sc.
- (You are now replacing the lace pattern with solid sc stitches on this row.)
- Row 2 (start decreasing):
- Ch 1, turn.
- Work 1 sc in each stitch until 2 stitches remain at the end of the row.
- Work sc2tog over the last 2 stitches (decrease).
- You now have 8 sc.
- Row 3 and onward:
- Ch 1, turn.
- Work 1 sc in each stitch until 2 stitches remain, then sc2tog across the last 2 stitches.
Continue in this manner, decreasing 1 stitch per row, until:
- You are down to 2 stitches.
- For the last row:
- Ch 1, turn, and sc2tog over the final 2 stitches.
- This closes the triangle to a point.
You now have a matching triangular end.
4. Second Tie
From the tip of the second triangle:
- After the final sc2tog and fastening the last stitch:
- Ch 40 (for the second tie).
- Fasten off:
- Cut the yarn leaving a small tail.
- Pull the tail through the last chain to secure and form a knot at the end of the tie.
Now your headband is structurally complete: triangle – lace section – triangle, with ties at both ends.
Finishing the Pattern
- Weave in Ends:
- You will have at least two yarn ends:
- The starting tail at the very beginning of the first tie.
- The ending tail at the second tie.
- Thread each tail onto a yarn needle and:
- Insert the needle into the back side of the fabric.
- Weave it in through a few stitches to secure.
- Somewhat mimic the stitch pattern to hide the yarn.
- Form a small loop if desired and pull the end through to lock, then trim excess.
- You will have at least two yarn ends:
- Check Symmetry:
- Lay the headband flat.
- Ensure both triangles are similar in size.
- Check that both ties are approximately the same length.
- Block (Optional):
- For a neater look, especially with cotton:
- Lightly dampen the headband.
- Shape it flat, gently stretching to even out the 30 cm section.
- Let it dry completely.
- For a neater look, especially with cotton:
Suggestions & Customization
- Length Adjustment:
- If you have a larger head or prefer a looser fit:
- Work more than 22 pattern rows, or aim for 32–34 cm instead of 30 cm.
- For a smaller head or child:
- Work fewer pattern rows (e.g., 18–20), and measure to about 26–28 cm.
- If you have a larger head or prefer a looser fit:
- Tie Length:
- The pattern uses 41 chains at the beginning and 40 chains at the end.
- You may increase to 50–60 chains each side if you want more generous knots or bows.
- Yarn Choice:
- 100% cotton is highly recommended: it is breathable, non-stretchy, and comfortable in warm weather.
- Avoid very stretchy yarns; they may distort the lace pattern or loosen too much.
- Pattern Variation:
- The lace pattern is simple: groups of 2 dc worked into the space between dc pairs of the row below.
- You can alternate colors every few rows for stripes.
- You can add an edging around the finished headband with sc or crab stitch (reverse sc) if you want a slightly thicker edge.
Tips to Maintain the Headband
- Washing:
- Hand wash or gentle machine wash (if the yarn allows).
- Lay flat to dry to prevent distortion.
- Storage:
- Store flat or lightly rolled to avoid stretching out the ties.
- Shape Retention:
- If the cotton loosens with wear, a light re-blocking (dampening and reshaping) will restore the crisp look.
Final Words
You now have a complete, step-by-step written version of the simple, airy, tie-back crochet headband from the transcription. The pattern is intentionally straightforward and repetitive, making it ideal as a quick project and a thoughtful handmade gift.