Add a sweet touch to your style with this free crochet strawberry hair clip pattern that makes a cute and fun hair accessory for daily wear.
Wow Your Friends with Handmade Free Crochet Strawberry Hair Clip Pattern
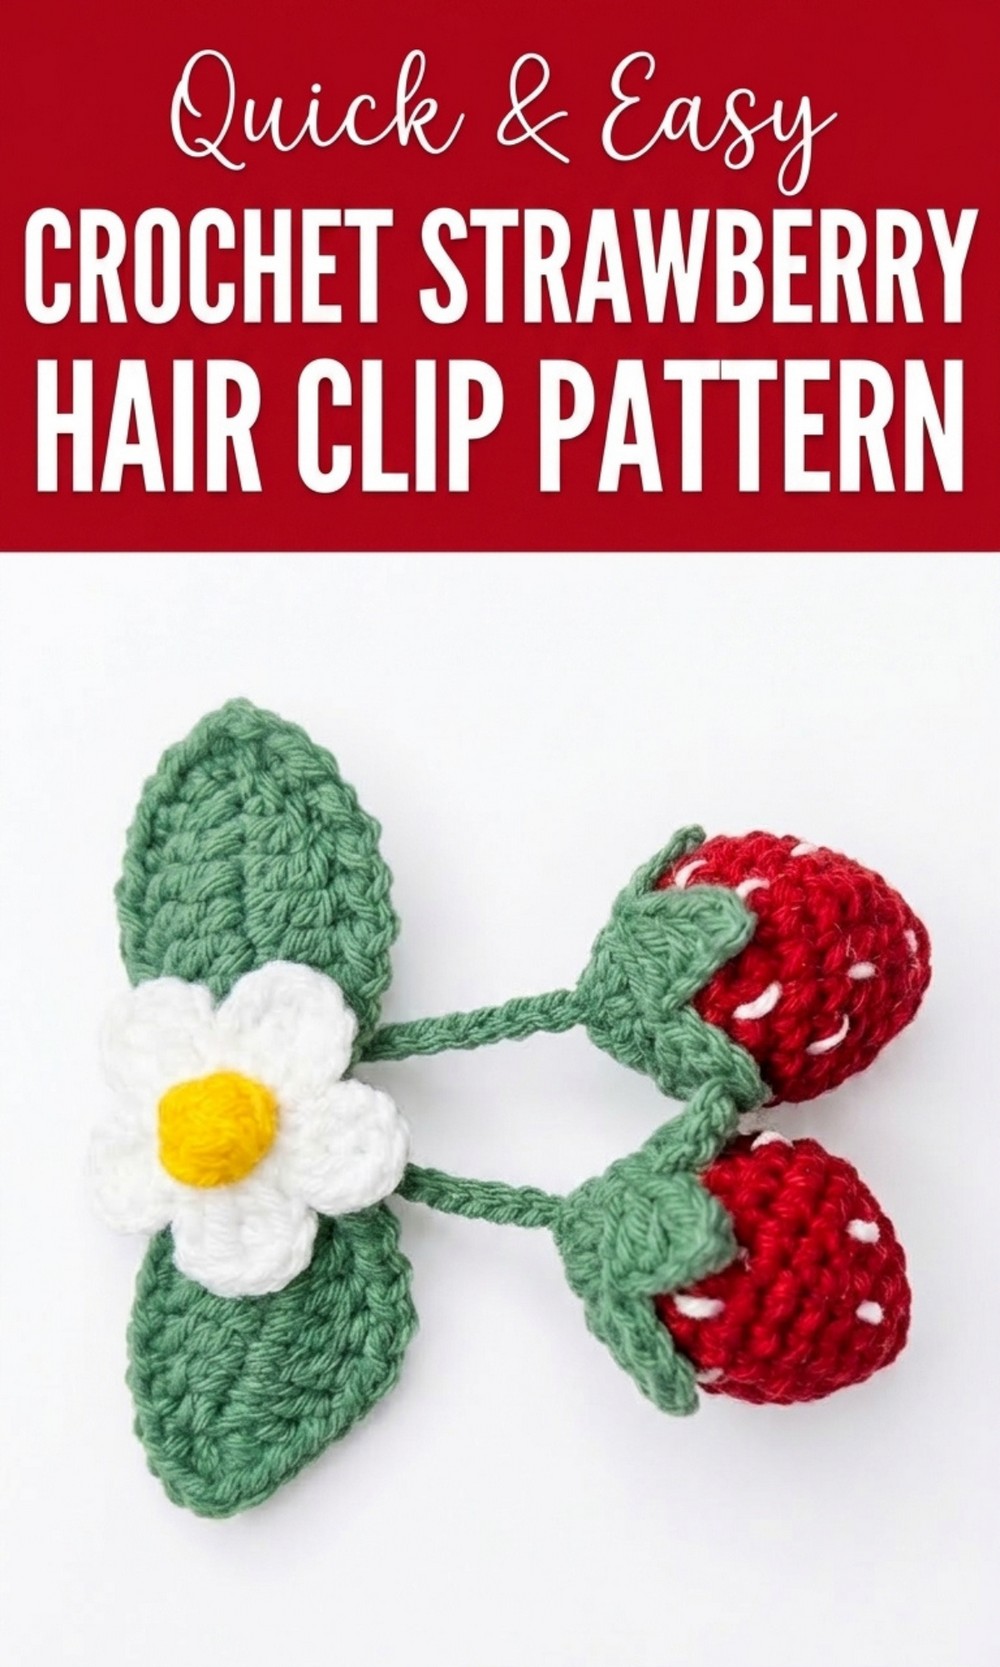
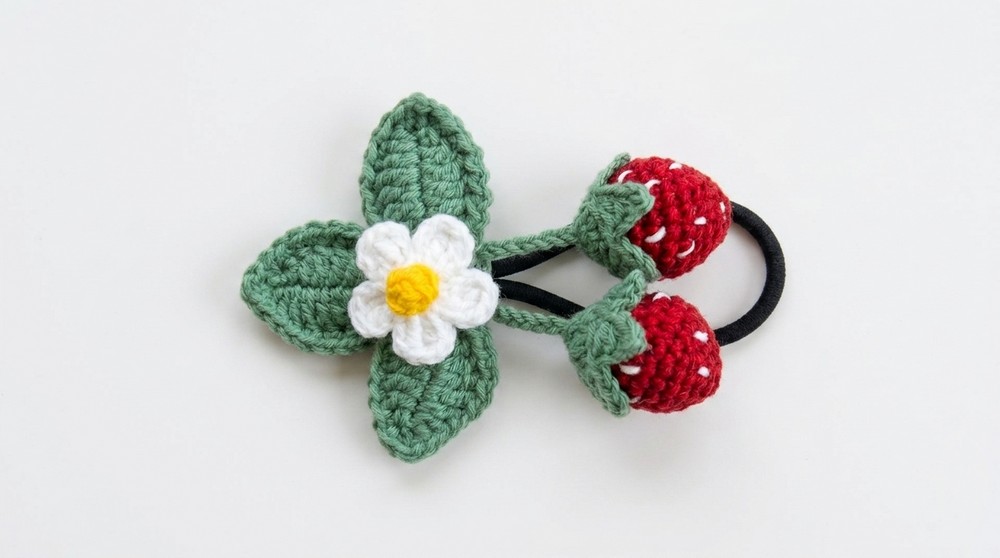
Think about wearing a strawberry in your hair—how fun does that sound? This crochet strawberry hair clip is the perfect mix of cute and creative. It’s small, colorful, and instantly brightens any hairstyle. With its soft crochet texture, tiny white “seeds,” green leaves, and a cute little flower, this tiny accessory looks like a fresh picked strawberry ready to make you smile.
This hair clip isn’t just adorable—it’s lightweight, easy to use, and adds a playful touch to your look. You can wear it to school, a party, a picnic, or even just to feel extra special while hanging out.  Whether you’re making it for yourself or as a gift, this strawberry hair clip is a sweet little treasure that’s fun to crochet and even more fun to wear.
Cozy Crochet Strawberry Hair Clip Pattern
Materials Needed
- Yarn in various colors:
- Green (for the leaves)
- Red (for the strawberries)
- White (for the flowers)
- Yellow (for flower centers)
- Crochet hook (as per the yarn thickness, often 3mm–3.5mm recommended)
- Sewing needle
- Scissors
- Polyester fiberfill (for stuffing strawberries)
- Marker (optional, to track rounds)
- Hot glue (silicone liquid glue for attachment)
Techniques Used
- Magic Ring: Used for creating a tight foundation round.
- Basic Crochet Techniques:
- Chain (ch)
- Single crochet (sc)
- Half double crochet (hdc)
- Double crochet (dc)
- Treble crochet (tc)
- Double treble crochet (dtc)
- Slip stitch (sl st)
- Increase (adding stitches)
- Decrease (reducing stitches)
- Finishing Techniques:
- Sewing embellishments securely
- Using glue for durable finishing
Step by Step Pattern
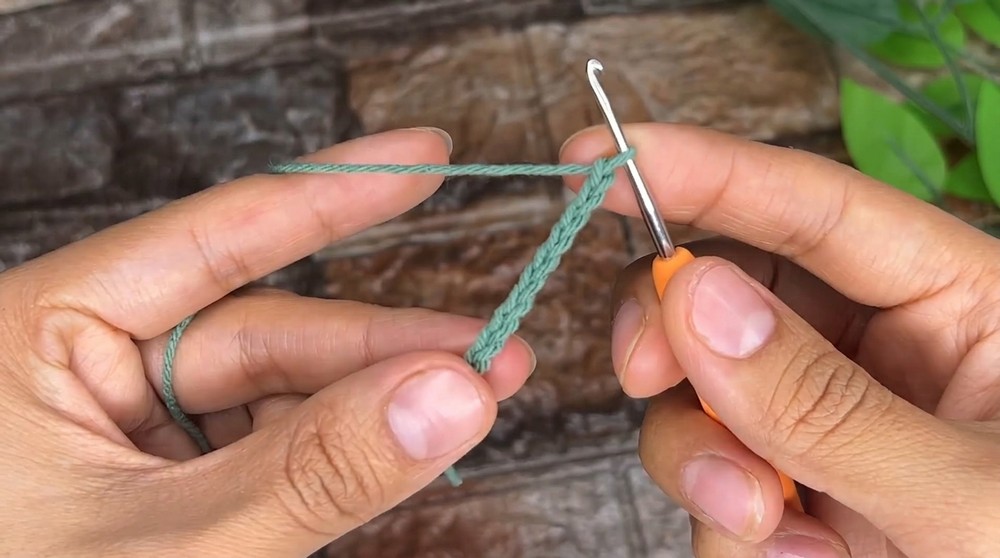
1. Leaf Pattern
- Begin with a magic ring.
- Create 10 chains.
- Ch 1, 2, 3, 4, 5, 6, 7, 8, 9, and 10.
- Work backwards along the chain:
- sc into the first chain.
- hdc in the next chain.
- dc in the next chain.
- dtc in the next three chains (roll the yarn twice around the hook before stitching).
- dc, hdc, and finally sc into the last chains.
- Turn your work and repeat the sequence on the opposite side of the chain.
- Use a slip stitch to close off the leaf.
- Optional: Add relief edging.
- Chain 2. Sl st into the next stitch; repeat this chain-sl st cycle around the edge for a textured look.
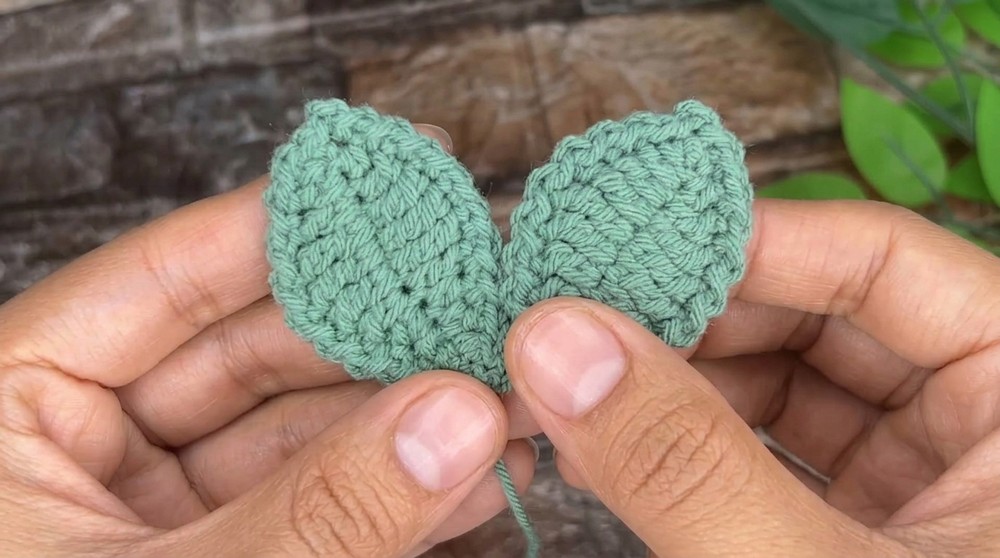
- Make two identical leaves for the hairpin.
2. White Flower Pattern
- Start with a magic ring.
- Work 5 sc into the ring.
- Pull the ring tight and sl st into the first sc.
- Create the petals:
- Ch 3, work 2 tc into the same stitch.
- Ch 3 again and sl st into the next stitch.
- Repeat the sequence to create a total of 5 petals.
- Fasten off.
- Flower Center:
- Use yellow yarn to create another magic ring.
- Work 5 sc into the ring.
- Yarn over and pull through all loops on the hook.
- Finish with a sl st, and sew this center onto the white flower.
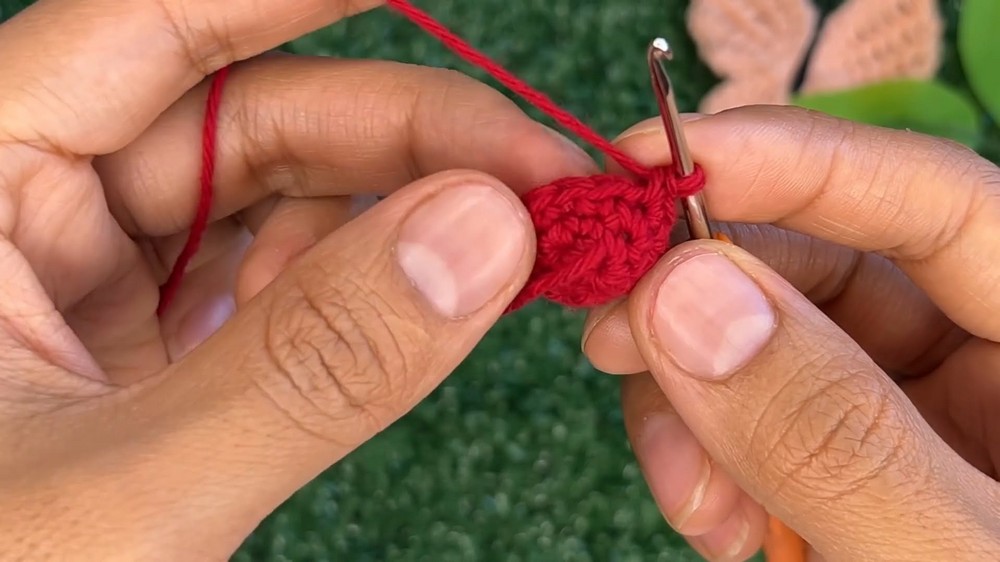
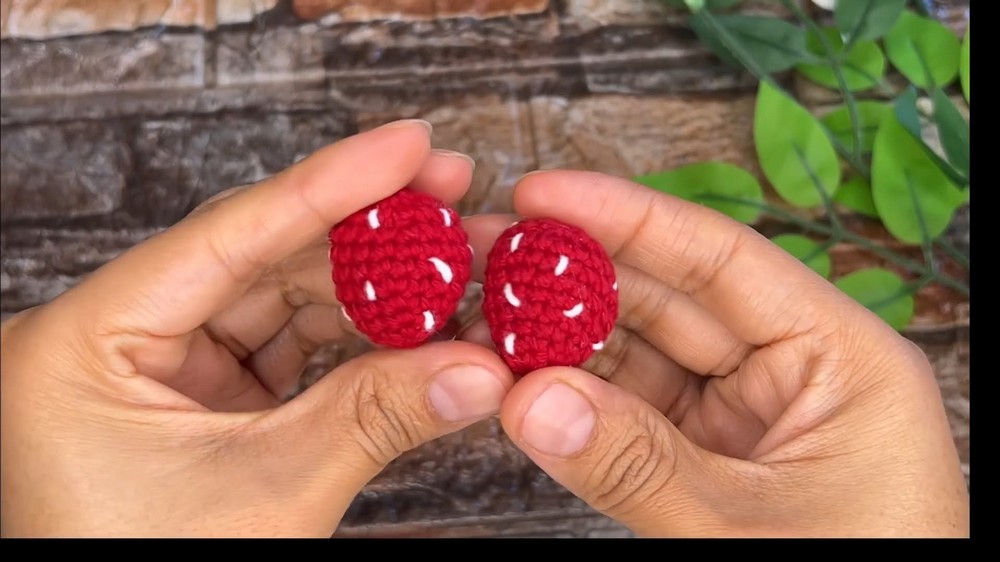
3. Strawberry Pattern
- Begin with a magic ring in red yarn.
- Round 1: Work 6 sc into the ring (don’t close the round yet as we’ll work in spirals).
- Round 2: 1 sc, 1 increase (repeat around for 9 stitches).
- Round 3: 2 sc, 1 increase.
- Total 12 stitches.
- Round 4: 3 sc, 1 increase.
- Total 15 stitches.
- Rounds 5–6: Work 21 sc (no increases).
- Start forming the body of the “strawberry.”
- Round 7: 5 sc, 1 decrease.
- Total 18 stitches.
- Total 18 stitches.
- Round 8: Work pure decreases, ensuring the strawberry closes at the top.
- Add fiberfill before fully closing.
- Detail the strawberry by making tiny white stitches, mimicking seeds.
4. Green Strawberry Leaves
- Create a magic ring in green yarn.
- Work 5 sc into the ring.
- Increase around with 2 sc in each stitch.
- You now have 10 stitches total.
- Form the small leaves:
- Ch 4.
- Work along the chain: sc, hdc, dc.
- Skip one base stitch and sl st into the next.
- Repeat ch 4, sc, hdc, dc sequence to form multiple leaves.
5. Assembly
- Attach the Pieces:
- Use the loose yarn ends or needle to sew the two leaves together.
- Secure the flowers and strawberries onto the leaves.
- Hairpin Attachment:
- Glue or sew the completed embellishments onto the hairpin securely.
- Make sure all parts are firmly attached to avoid them falling apart.
Finishing Tips
- Secure Stitching: Always weave in loose ends carefully to prevent unraveling.
- Hot Glue Application: Ensure the glue is applied evenly for proper adhesion.
- Cleaning: Handwash the finished product gently if necessary.
- Personalization:
- Use pearl beads or buttons to decorate.
- Experiment with different color combinations to match outfits.
Final Words
This crochet hairpin project beautifully combines flowers, leaves, and strawberries into one delightful accessory. The textured leaves, vibrant strawberries, and soft petals bring charm and elegance to any hairdo. It’s a perfect handmade gift or accessory for yourself or loved ones. Whether you’re a beginner or skilled in crochet, these steps ensure easy crocheting with exciting results.