Fry up fun with this Free Crochet Fried Egg Susemi Pattern, adding a quirky touch to kitchens, décor, or playful handmade displays and gifts today.
Trendy Crochet Fried Egg Susemi Pattern for Fun Decor

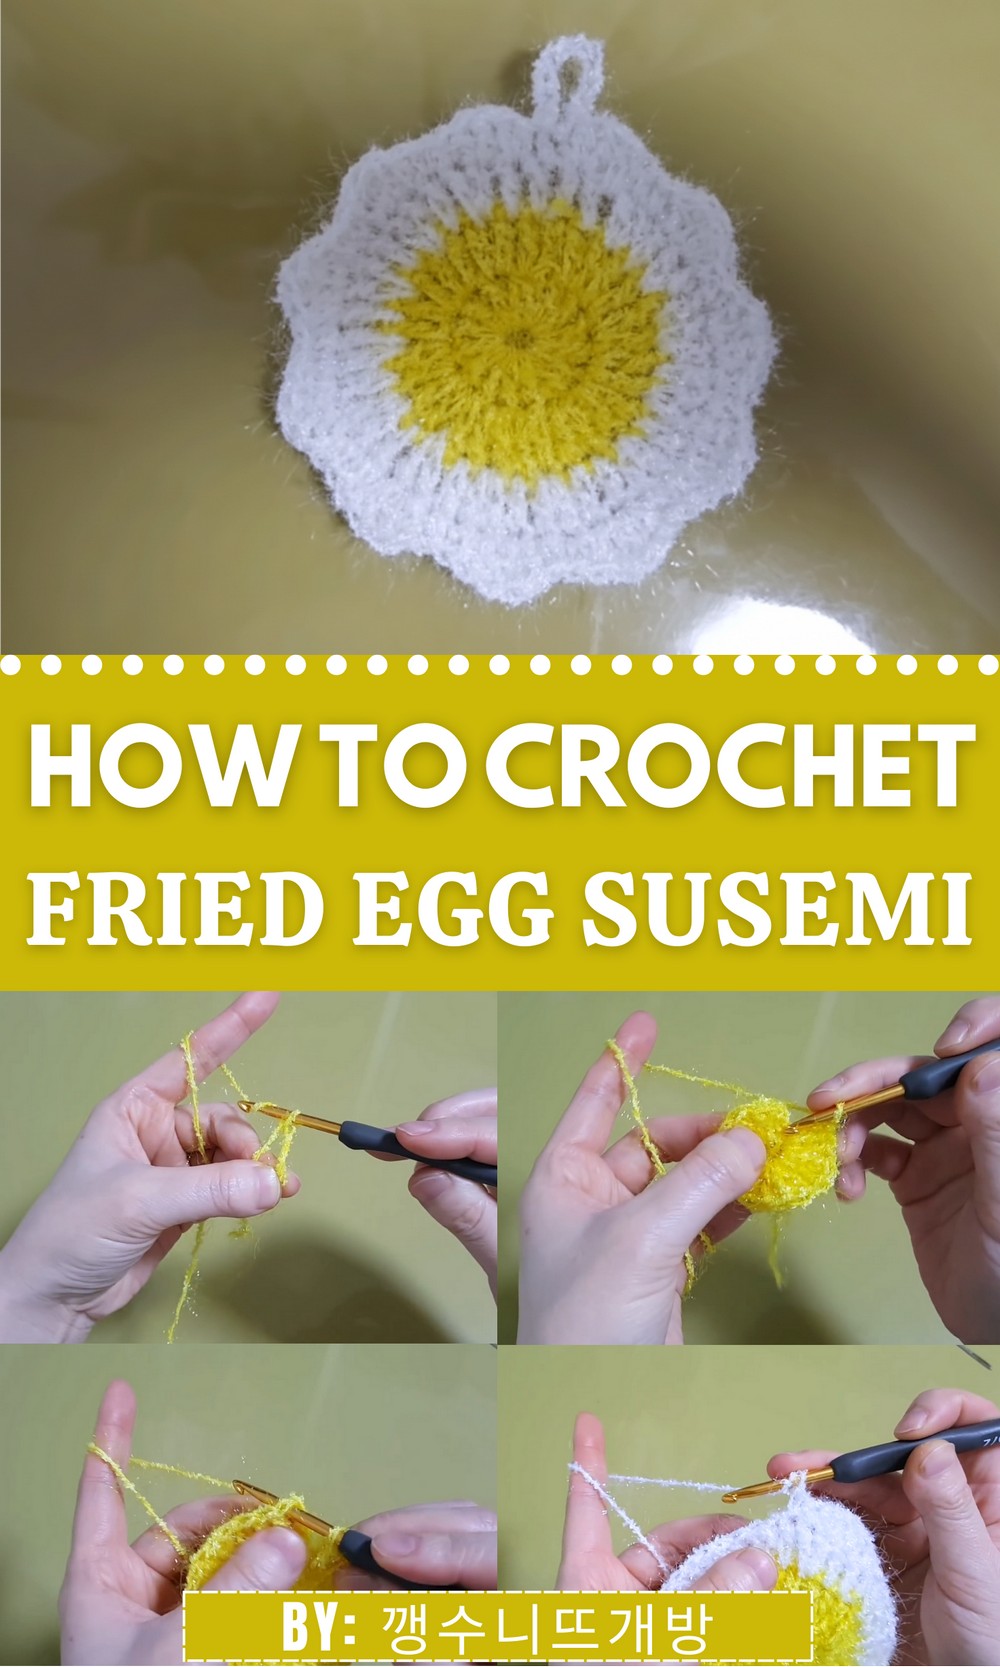
This tiny piece looks cheerful and fun, with its bright white and yellow yarn bringing a bit of breakfast joy to your day. Its cute, round shape makes it an eye-catching decoration for desks, keychains, bags, or craft displays a simple way to make everyday spaces more lively.
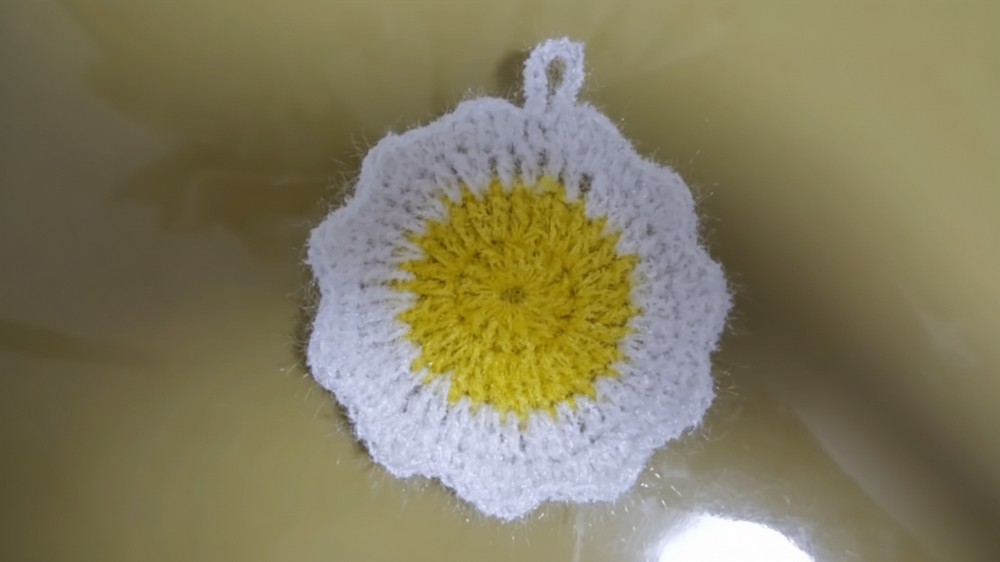
Because it’s soft and lightweight, it’s perfect for kids’ play kitchens, gifts, or just something to smile at while you work or relax. The friendly look and soft texture make it more than a crochet item, it adds a playful, cozy touch wherever you place it.
Crochet Fried Egg Appliqué Pattern
1. Materials
Yarn
- Yolk (Center): Bright yellow yarn (for the yolk).
- Egg White: White yarn.
Suggested yarn weight: Fingering, DK, or light worsted-weight yarn is recommended.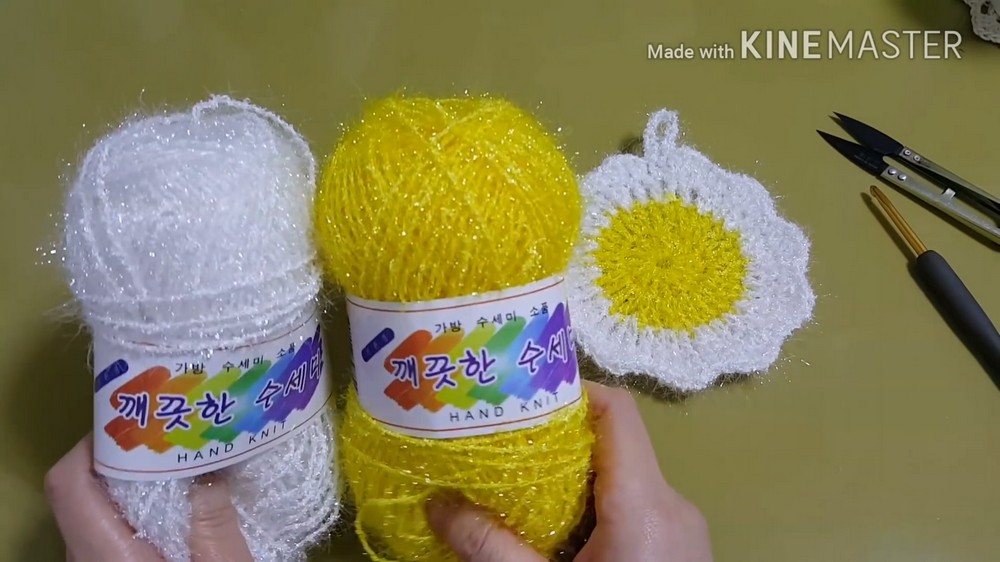
Hook
- Use a crochet hook size appropriate for your yarn. A 2.5mm – 4.0mm hook is typically suitable depending on the yarn.
Additional Supplies
- Tapestry needle: For weaving in ends.
- Scissors: For cutting yarn.
- Optional: Stitch markers if you’re still learning to keep track of rounds.
2. Gauge
Gauge is not critical for this project. However:
- With fingering-weight yarn and a 3 mm hook, the appliqué will measure approximately 7–10 cm across.
- Adjust yarn weight and hook size for a smaller or larger appliqué.
3. Finished Size
- Approximate Size:
- Yolk: ~2.5 cm diameter.
- Full egg appliqué: ~7–10 cm diameter.
Exact size depends on tension, yarn, and hook size.
4. Special Techniques Used
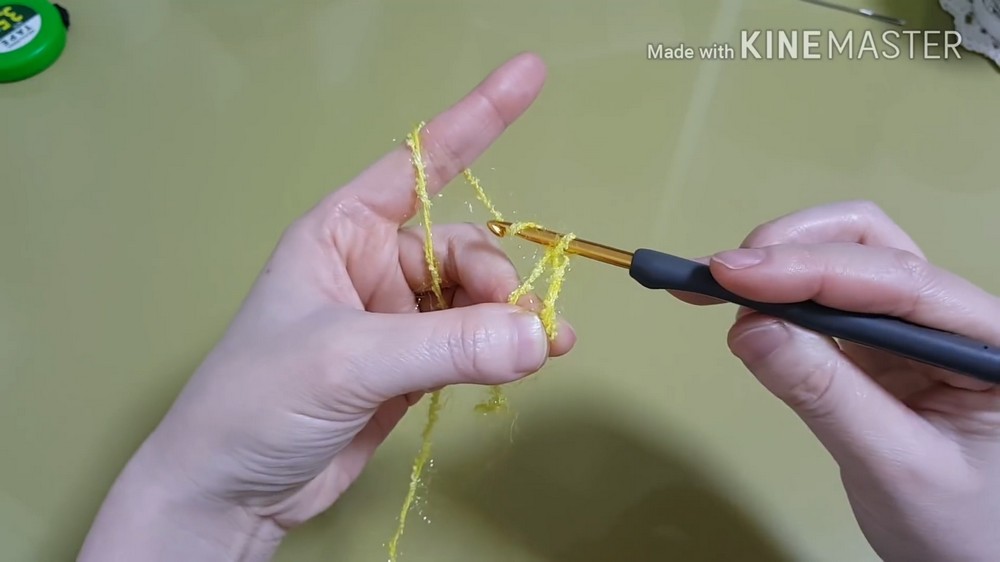
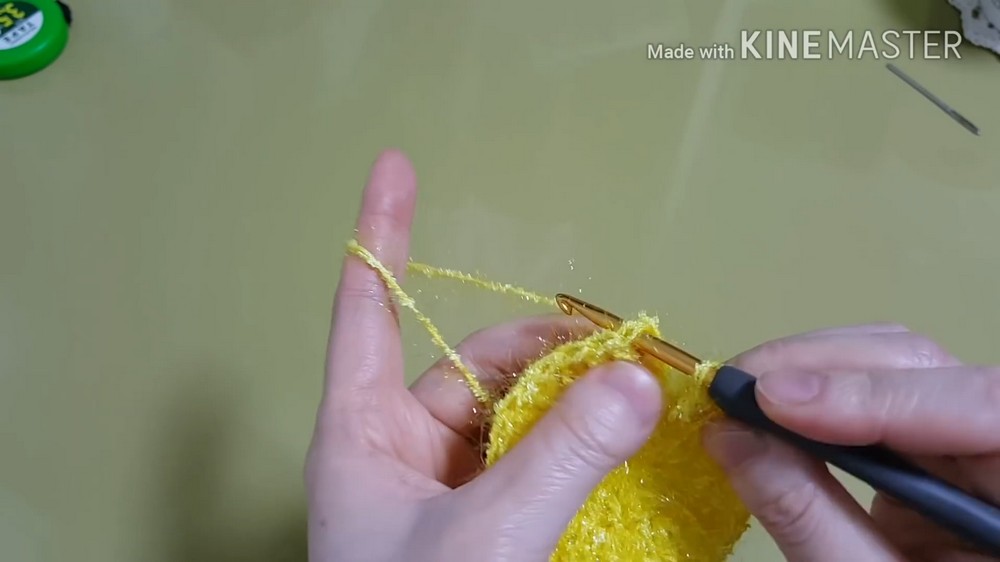
Magic Ring
- The starting technique for creating a circle without a hole in the center.
Steps:- Wrap yarn around your fingers to form a loop.
- Insert the hook into the loop, pull through a loop of yarn, and complete a chain stitch to secure the circle.
- Work the required stitches into this loop.
Slip Stitch (sl st)
- A finishing stitch used for joining rounds or moving across stitches.
Steps: Insert the hook into the stitch, yarn over, and pull through all loops on the hook.
Single Crochet (sc)
- A basic stitch in crochet.
Steps: Insert the hook into the stitch, yarn over, pull up a loop, yarn over again, and pull through both loops on the hook.
Half Double Crochet (hdc)
- A slightly taller stitch.
Steps: Yarn over, insert the hook into the stitch, yarn over and pull up a loop, yarn over again and pull through all three loops on the hook.
Double Crochet (dc)
Steps: Yarn over, insert the hook into the stitch, yarn over pull up a loop (3 loops on hook), yarn over, pull through 2 loops, yarn over and pull through the remaining 2 loops.
5. Pattern Instructions
Egg Yolk (Yolk Center)
- Begin with the magic ring: Make a loop and secure it with one chain.
- Round 1: Work 10 single crochets (sc) into the magic ring. Pull the magic ring tight to close the circle.
- Slip stitch (sl st) into the first sc to join the round. (10 sc)
- Slip stitch (sl st) into the first sc to join the round. (10 sc)
- Round 2:
- Chain 1. Work 2 sc in each stitch around.
- Sl st into the first sc to close the round. (20 sc)
- Round 3 (Optional – for larger yolk):
- Chain 1. (1 sc, 2 sc in next stitch) repeat around.
- Sl st into the first sc to close the round. (30 sc)
- Fasten off and cut the yellow yarn, leaving a tail to sew the yolk onto the white later.

Egg White (Outer Part)
- Attach White Yarn:
- Join the white yarn with a slip stitch to any stitch on the yolk.
- Round 1:
- Chain 2 (counts as the first half double crochet). Work 1 hdc in each stitch around the yolk.
- Sl st to the top of the chain-2 to close the round.
- Round 2 (Creating Egg Shape):
- Begin forming the organic shape of the egg white by adding increases and irregular spacing for slight waves. (Exact placement may vary; maintain balance.)
- (2 hdc in next stitch, 1 hdc in next 2 stitches) repeat for half the round.
- (2 dc in the next stitch, 1 dc in the next stitch) for a slightly larger section.
- Switch back to hdc to finish the rest of the round.
- Sl st to the starting chain.
- Begin forming the organic shape of the egg white by adding increases and irregular spacing for slight waves. (Exact placement may vary; maintain balance.)
- Round 3 (Optional – Wavy Edge):
- Create more pronounced texture with increases and varying heights:
- (1 sc, 1 hdc, 2 dc in next stitch, 1 hdc, 1 sc) in one section to form a wave.
- Work single crochet stitches in the next few stitches for a tighter area.

- Alternate these patterns to create the look of fried egg whites.
- Create more pronounced texture with increases and varying heights:
- Finish off white yarn and weave in the ends.
6. Assembly & Finishing
- Shape the Egg
- Flatten your appliqué and shape as desired while working or after completing the project.
- Block the piece if necessary to help maintain shape and size (optional, especially for cotton yarn).
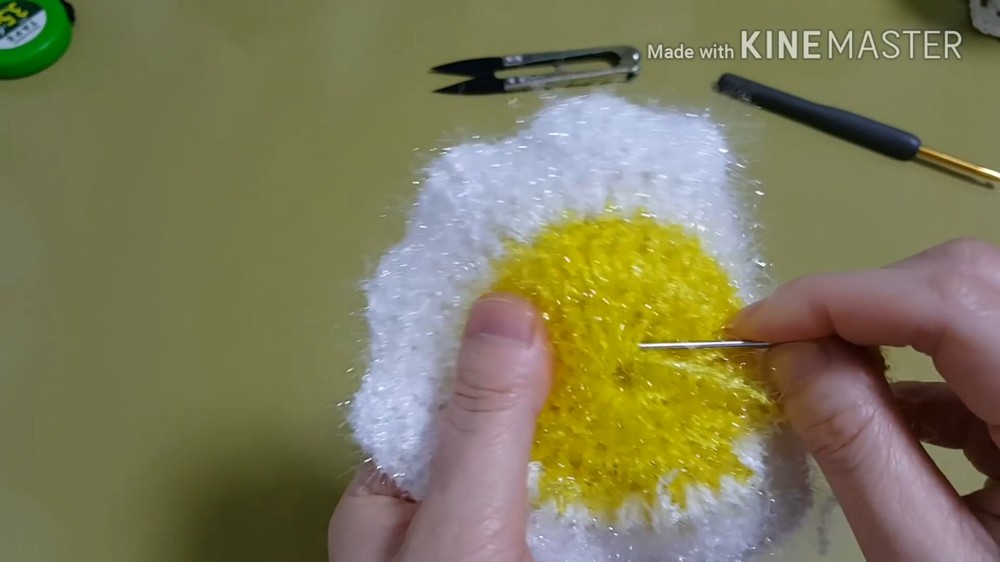
- Attach the Yolk to the White
- Using the yellow tail left from the yolk, sew down the edge of the yolk onto the white with small, neat stitches.
- Using the yellow tail left from the yolk, sew down the edge of the yolk onto the white with small, neat stitches.
- Optional Details
- Add a smiley face or features on the yolk using embroidery thread or small felt pieces for a “kawaii” fried egg look.
- Sew a keyring, magnet, or pin backing if making a functional accessory.
7. Customization Ideas
- Size Variations:
- For a larger egg, add more rounds to the yolk and white sections. Increase the stitches proportionately.
- Use thicker yarn and a larger hook for a larger appliqué.
- Color Variations:
- Experiment with yarn colors for fun! (E.g., a pastel yolk for whimsical decor.)
- Projects with Applications:
- Sew onto potholders, aprons, placemats, or use as coasters.
- Perfect as part of a breakfast-themed project set or party decor.
- Textured Whites:
- Use puff stitches or clusters in Round 3 of the egg white to create a textured pattern.
8. Conclusion
This fried egg appliqué is a fun and easy crochet project. Its charming design makes it versatile for different crafts, from cute accessories to kitchen-themed decorations. With its organic shape and quick assembly, it is perfect for experienced crocheters looking for something whimsical or beginners practicing basic techniques.