Shade your style with this Free Crochet Summer Fedora Hat Pattern, perfect for sunny days, beach outings, and adding a chic handmade touch.
Sleek Crochet Summer Fedora Hat Pattern with Statement Appeal

This handmade summer hat has a relaxed yet stylish look that instantly lifts any outfit, giving you a breezy and comfortable accessory for warm days. Its wide brim and lightweight yarn make it perfect for sunny walks, beach trips, or casual outings, offering both shade and a touch of handmade charm.

The soft texture and neat stitches create an appealing finish that feels nice on your head and looks great with casual wear or summer dresses. With its casual but fashionable appearance, it brings personality and a cozy feel to something you’ll enjoy wearing again and again.
Crochet Pattern: Summer Fedora Hat
1. Materials
Yarn
- Paper Yarn: Lightweight and durable, ideal for summer hats.
- Example: “Luffy paper thread” (as mentioned in the video).
- Paper yarn substitutes: Raffia yarn, craft straw yarn, or similar lightweight non-stretch yarn.
Hook
- Hook Size: Choose your hook to match the yarn weight. Recommended: 3.0mm–4.0mm (depending on the yarn’s stiffness).
Additional Supplies
- Scissors: For trimming yarn.
- Tapestry needle: For weaving in ends and finishing.
- Optional: Stitch markers to ensure consistent placement of increases.
2. Gauge
Gauge is not critical for this pattern, but ensure consistent tension for the crown and brim to maintain structure.
- For standard paper yarn and a 3.5mm hook:
- 10 single crochet stitches (sc) x 10 rows = ~5 cm x 5 cm.
3. Finished Size
Approximate sizes based on number of rounds worked (adjust for circumference as needed):
- Baby (~40–43 cm): Work fewer rounds.
- Toddler (~45–50 cm): Add additional rows to crown and brim.
- Adult (~54–58 cm): Work complete pattern as written.
Tip: Measure circumference during work and adjust to fit.
4. Special Techniques Used
Magic Ring
A starter technique for creating a tight, circular foundation without a hole in the center.
- Wrap yarn around fingers, form a loop, insert hook to pull up a loop, chain 1 to secure base.
Single Crochet (sc)
- Insert hook into stitch, yarn over, pull up a loop, yarn over again, and pull through both loops.
Single Crochet Increase
- Work two single crochets (sc) into one stitch to widen the hat incrementally.
Slip Stitch (sl st)
- Insert hook into stitch, yarn over, pull through all loops on hook. Used for joining rounds or creating a neat edge.
5. Pattern Instructions
Crown of Hat
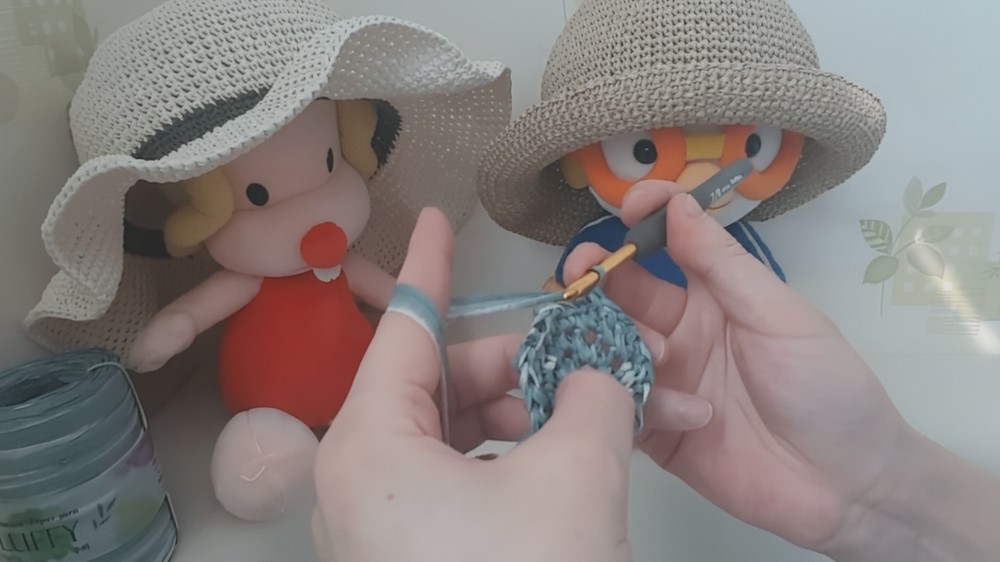
Step 1: Create the Magic Ring
- Form a magic ring. Secure with a chain stitch.
Step 2: Round 1
- Single crochet (sc) 7 times into the magic ring.
- Pull the tail to tighten and close the ring.
- Slip stitch (sl st) into the first sc to join the round. (7 sc total).

Step 3: Round 2 (Increase)
- Chain 1 and work 2 sc in each stitch around.
- Sl st into the first sc to join. (14 sc).
Step 4: Round 3
- Chain 1.
- (1 sc in the next stitch, 2 sc in the same stitch) repeat around.
- Sl st into first sc to join. (21 sc).
Step 5: Round 4
- Chain 1.
- (1 sc in the next 2 stitches, 2 sc in the next stitch) repeat around.
- Sl st into first sc. (28 sc).
Step 6: Round 5
- Chain 1.
- (1 sc in the next 3 stitches, 2 sc in the next stitch) repeat around.
- Sl st into first sc. (35 sc).
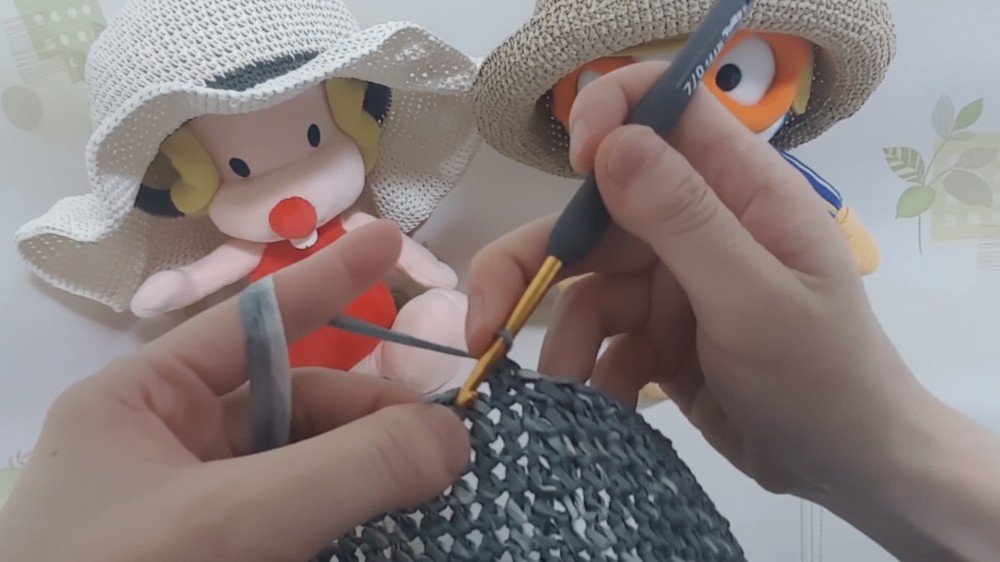
Step 7: Continue Increasing Rounds
Repeat the same pattern, adding 1 more stitch between increases each round:
- Round 6: (1 sc in next 4 stitches, 2 sc in next stitch) (42 sc).
- Round 7: (1 sc in next 5 stitches, 2 sc in next stitch) (49 sc).
- Round 8: (1 sc in next 6 stitches, 2 sc in next stitch) (56 sc).
For adult size hats, continue working rounds until the crown measures 15–18cm diameter.
Tip: Use a tape measure to check the circumference as you go.
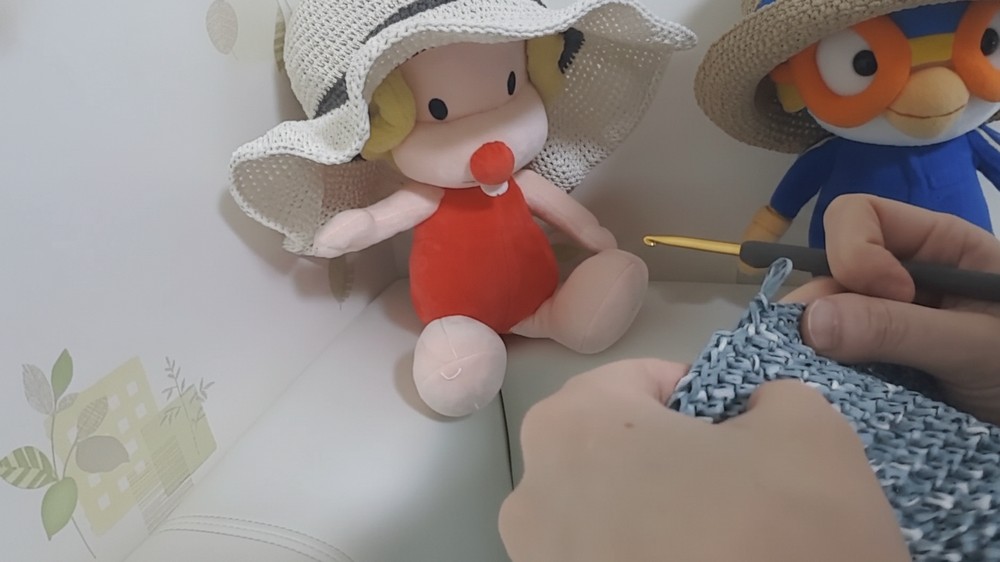
Body of Hat
- Single Crochet Without Increasing:
- Work 1 sc in each stitch around for several rounds (about 8-10 rounds) to form the straight sides of the hat.
- Measure the depth of the hat as you go to ensure proper fit for the intended size (baby, toddler, or adult).
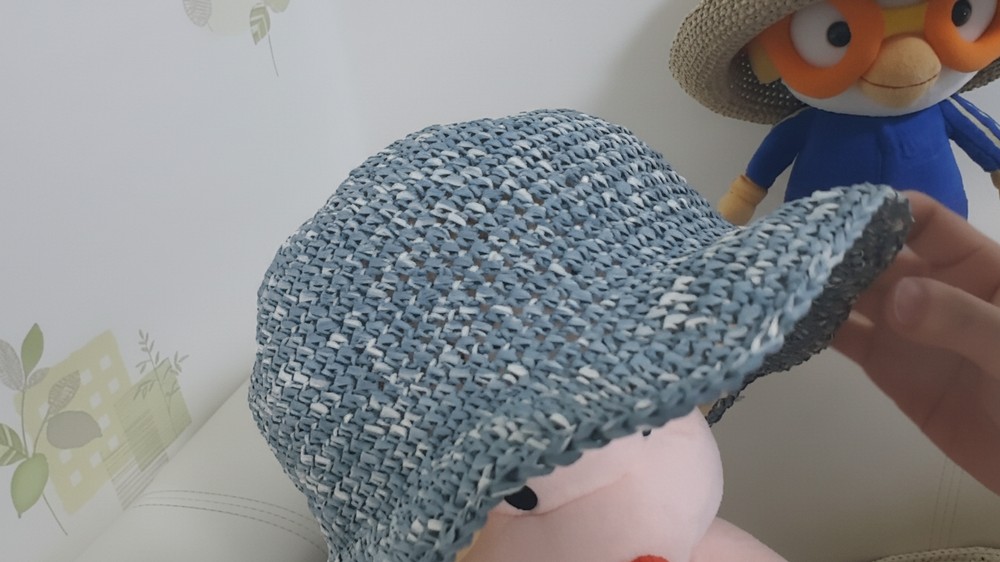
Brim of Hat
Widen the Brim
- Begin increasing again to flare the brim.
- Work the following rounds:
- (1 sc in next 7 stitches, 2 sc in next stitch) repeat around.
- (1 sc in next 8 stitches, 2 sc in next stitch) repeat around.
Final Rounds for Brim
- Continue working 1 sc in each stitch without increasing to maintain steady width.
- Work up to 5–8 rounds of straight sc (depending on desired brim width).
6. Assembly and Finishing
Fasten Off and Weave in Ends
- Cut yarn, leaving a 6–8 cm tail.
- Use a tapestry needle to weave the tail into nearby stitches on the underside of the hat.
- Trim excess yarn.
7. Customization Suggestions
- Color Variations
- Alternate colors for stripes on the crown or brim.
- Use different yarns for the crown and brim for a contrast design.
- Decorative Finishes
- Add a ribbon, bow, or crochet flower embellishment around the base of the crown.
- Use beads or buttons for decoration.
- Size Adjustments
- Add more increasing rounds to make the hat larger for adult sizes.
- For baby hats, stop increasing sooner and reduce the number of straight rounds.
8. Tips for Success
- Use Stitch Markers: Mark the beginning stitch of the round to easily keep track of increases.
- Consistent Tension: For paper yarn, tension is important to keep the hat sturdy and structured.
- Check Measurements: Stop periodically to check the diameter of the crown and depth of the body to ensure the hat fits well.
- Shape Hat After Completion: Wet block or steam the hat lightly if necessary to refine the shape.
9. Final Words
This fedora-style paper yarn hat is a stylish and practical summer accessory that works up relatively quickly and offers plenty of customization options. Take your time to adjust for size, style, and decorative elements to make it uniquely yours. Be patient with increments, as the structured shape is key to the design.