
Stitch a trendy crochet checkered bucket hat with this free summer pattern that lets you build a stylish, lightweight, and eye catching accessory perfect for bright days.
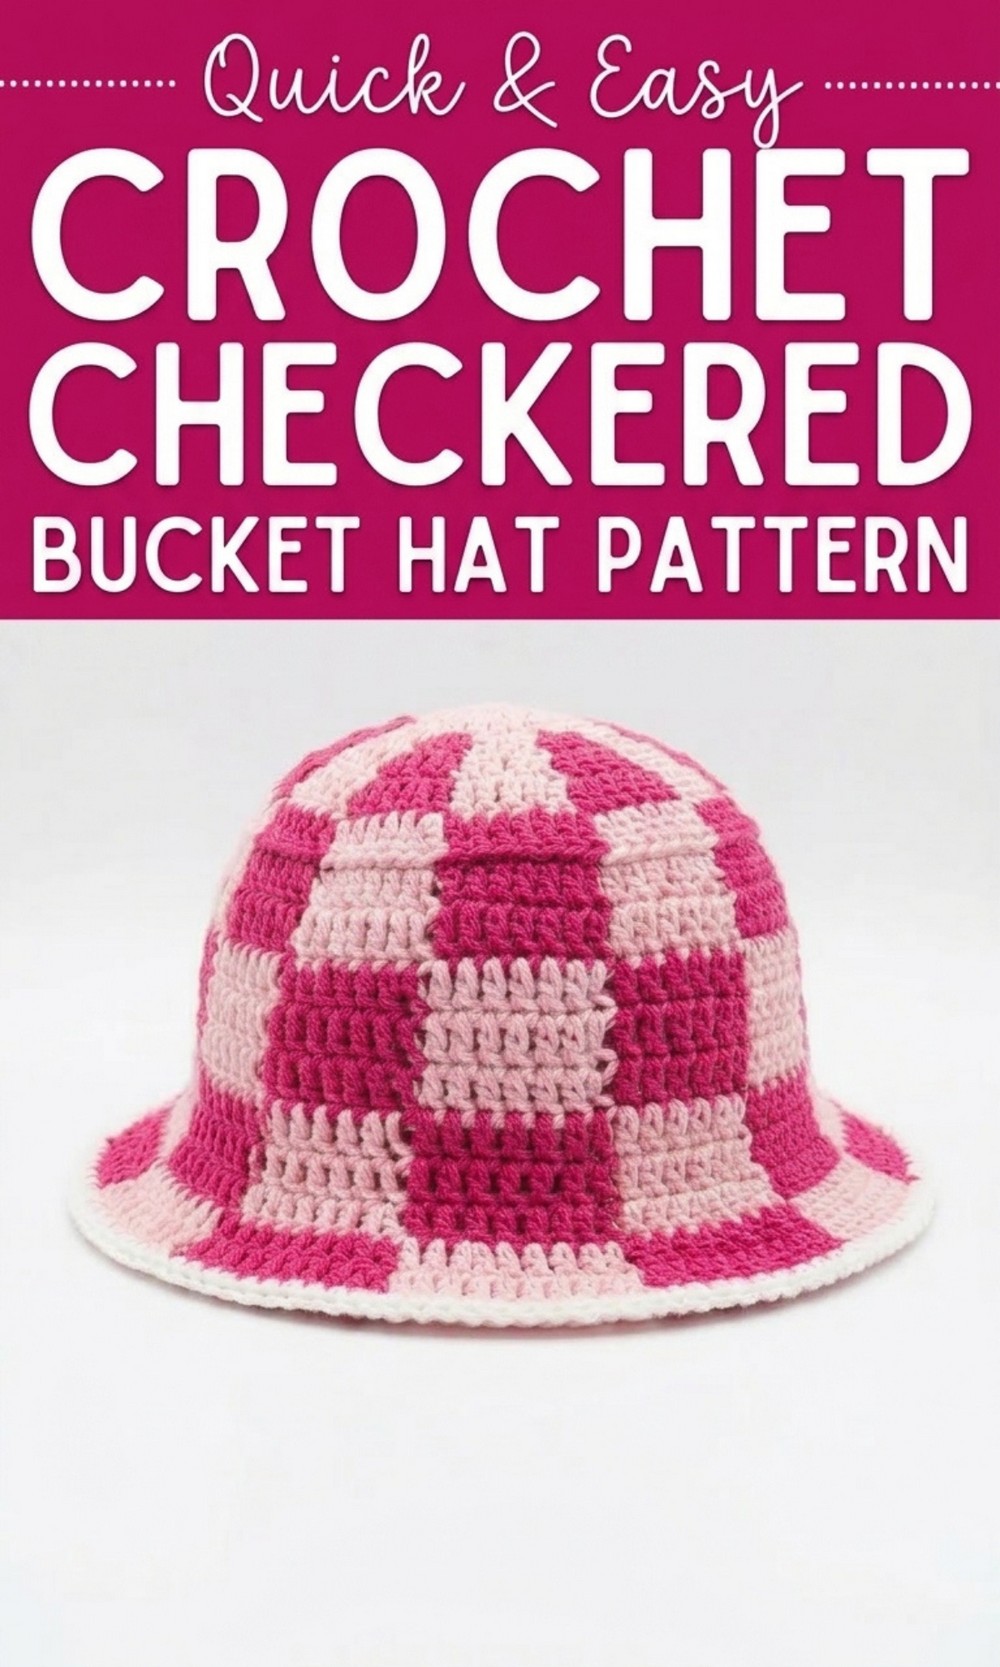
Turn Heads with This Free Crochet Checkered Bucket Hat Pattern
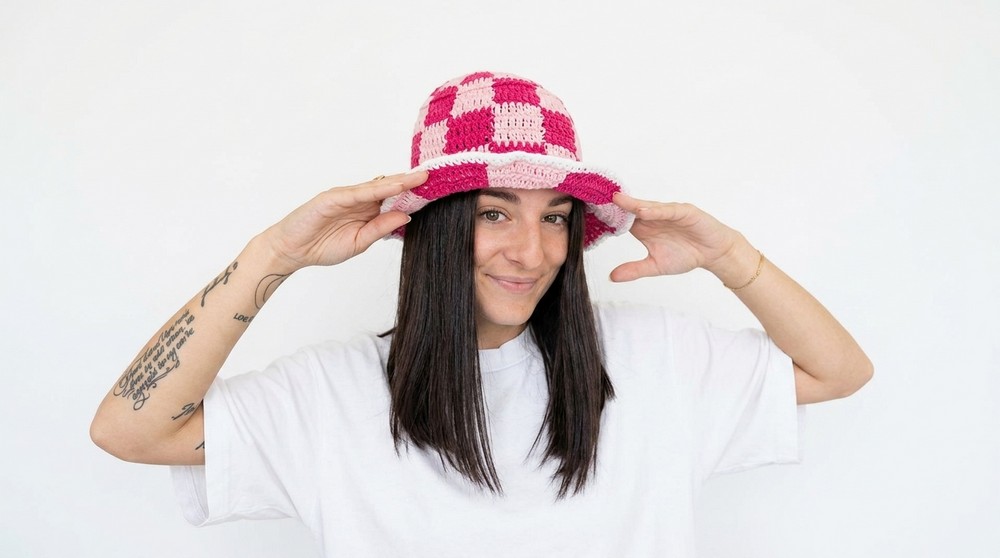
Two different colors of yarn come together like a joyful dance to create a trendy bucket hat that feels like a fun game board you can wear on your head. This exciting crochet project features a chic square checkered design and a soft, yet sturdy brim that keeps your eyes safe from the summer sun.
The bold block design is where the real magic happens. The colors swap back and forth, giving it a playful vibe, while looking like something straight out of a fancy clothing boutique. Its sturdy crown fits snugly on your head, yet it has a flexible shape that’s perfect for wearing on beach days, road trips, or even fun picnics with your besties. 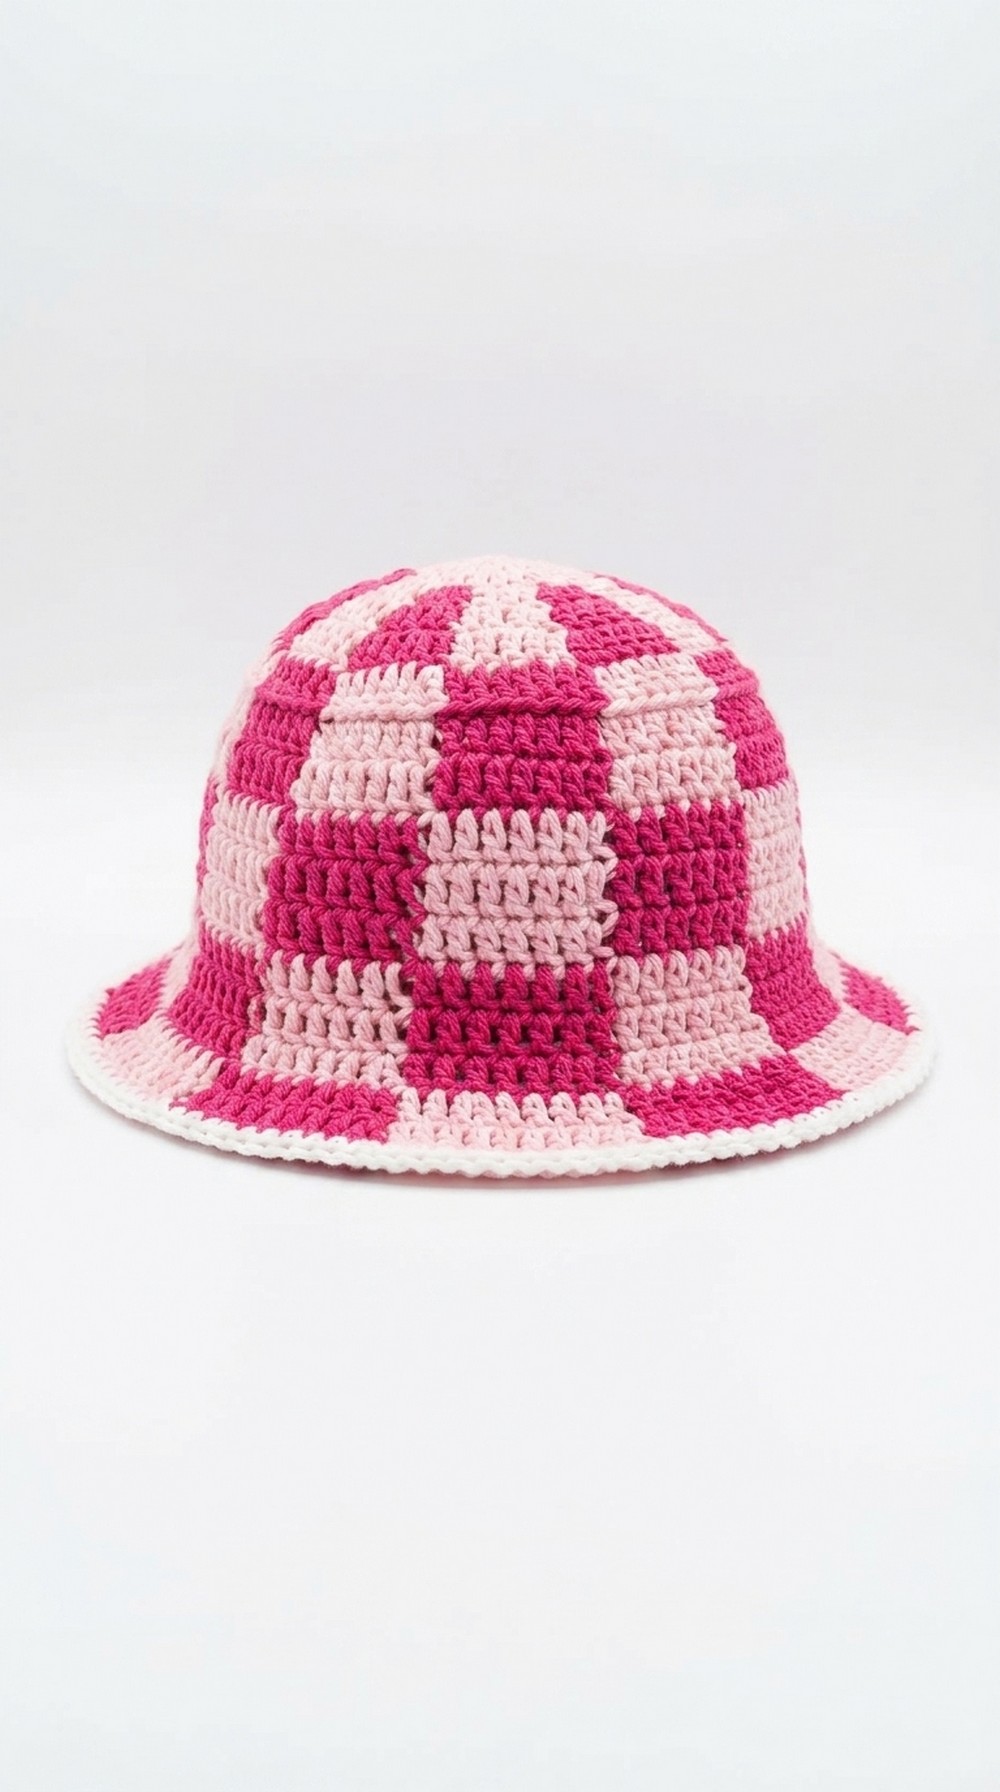 This Free Crochet Checkered Bucket Hat Pattern is not just trendy—it’s practical. Use it to stay cool or surprise someone special with a thoughtful gift. The clever color trick and simple stitches make it feel like you’re creating a high end piece, and once finished, you’ll have a hat that’s stylish, durable, and ready to turn heads for years to come.
Wonderful Crochet Checkered Bucket Hat Pattern
Materials Needed:
- Cotton yarn: Choose three colors for the hat. Recommended thickness is 3 mm.
- You may select fewer colors if desired (e.g., two).
- Crochet hook: Use a size 4 mm hook or adjust based on your yarn thickness.
- Scissors: For cutting yarn ends during the finishing process.
- Tapestry needle (lanera needle): For weaving in ends.
Special Techniques Used:
- Magic ring: Starting the hat with an adjustable beginning circle.
- Changing colors: Switching between yarn colors seamlessly during the process.
- Creating increases: Adding stitches to each row to shape the hat.
- Working in back loops only: For specific rows to create texture and structure.
Pattern Instructions:
Step 1: Create the Magic Ring
- Wrap the yarn around two fingers, forming a cross.
- Insert your crochet hook under the first strand and pull the second strand through.
- Chain one stitch to secure the ring. Remove your fingers.
Step 2: Round 1 (Base)
- Chain two stitches, which will not count as a double crochet (DC).
- Crochet 12 double crochet stitches into the ring.
- Yarn over, insert hook, pull through, yarn over, pull through two loops twice.
- Pull tight on the loose end to close the ring completely.
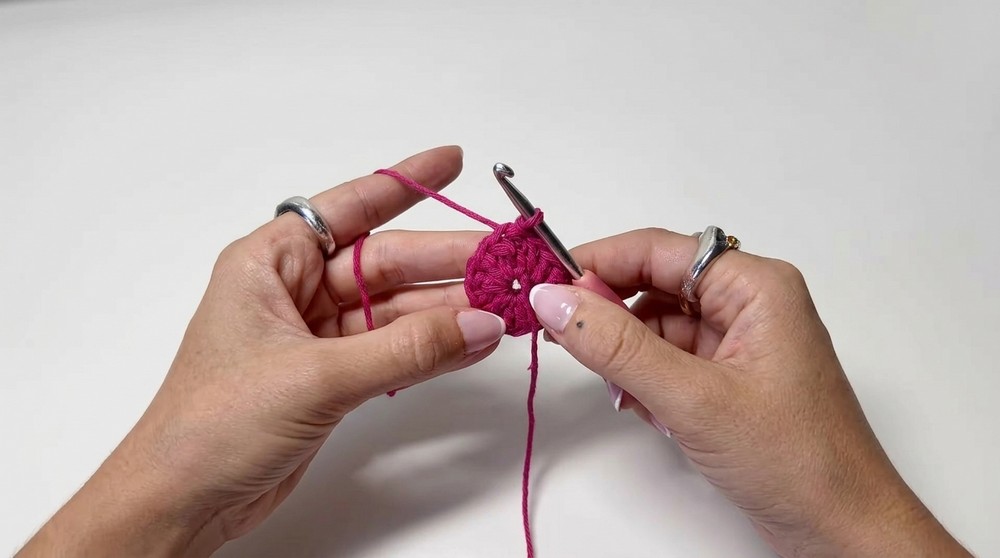
- Slip stitch into the first stitch to close the round.
Step 3: Round 2 (Double Crochet Increases)
- Chain two stitches to begin.
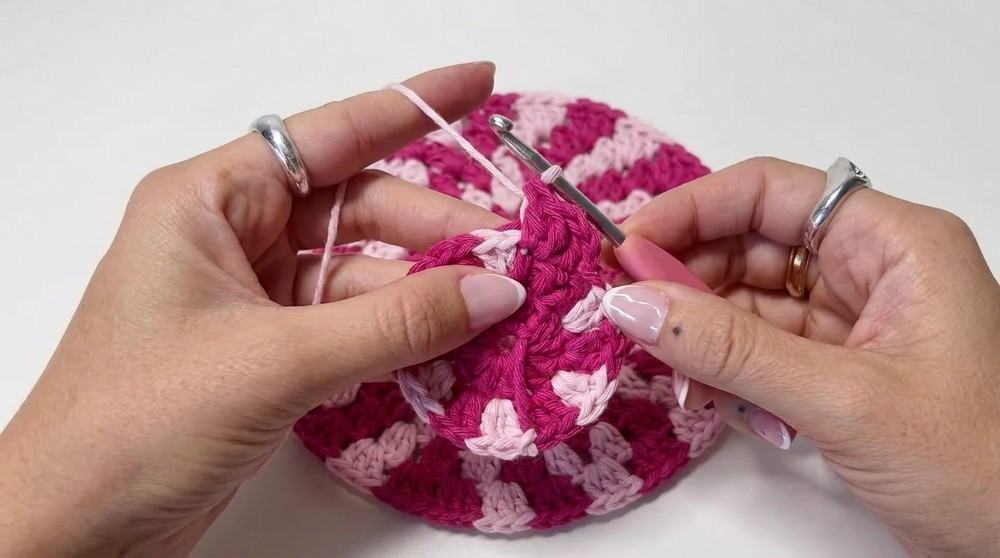
- Make two DCs in each stitch of the previous round (increase in each stitch).
- Switch to the second yarn color halfway through the second DC of the first stitch:
- When two loops remain, yarn over with the new color and pull through.
- Alternate between colors to create a striped effect.
Step 4: Round 3 and 4 (Continued Increases)
- For Round 3:
- Work one DC in the first stitch, two DCs in the next stitch. Repeat this sequence around the row.
- Change colors in the final stitch of each set when there are two loops left.
- For Round 4:
- Work two DCs individually, then two DCs in the next stitch.
- Follow color switching as previously explained.
Continue with additional rows as needed until the diameter matches your desired size for the hat’s brim base.
Step 5: Building the Body of the Hat
- Stop increasing stitches: Create the hat’s body by working single DCs into each stitch across all rows.
- Work in back loops only for the first round of the hat body to give the hat a clear edge between the base and body.
- Beginning in Round 2 of the body, work DCs in both loops to form the smooth body of the hat.
- Alternate colors every three rows for a striped design.
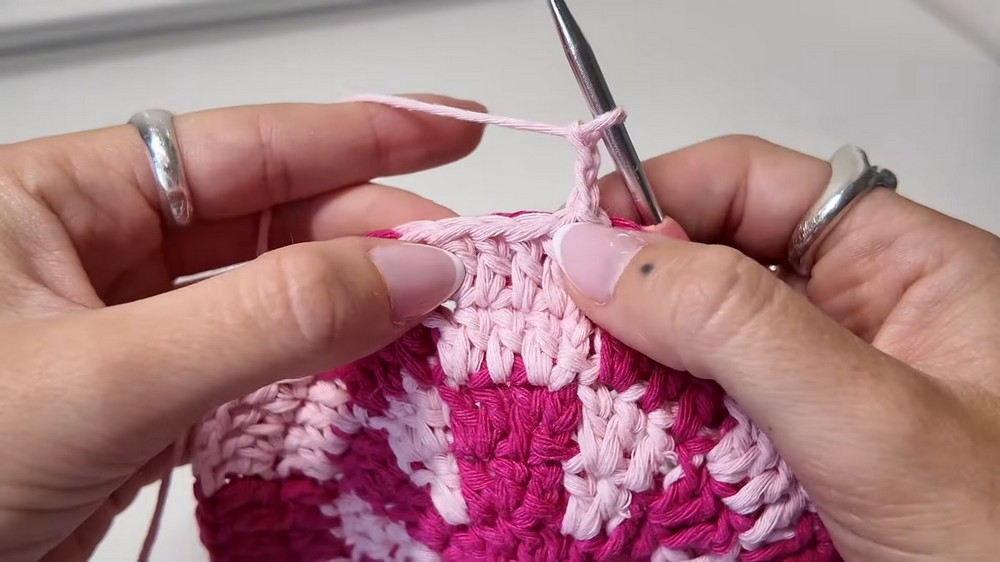
Continue for a total of eight rows to create the hat’s body.
Step 6: Creating the Brim (Increases)
- Begin modifying the hat shape to add flair with increases as follows:
- Round 1 of Brim: Work three DCs individually, then two DCs in the next stitch.
- Round 2: Work four DCs individually, then two DCs in the next stitch.
Repeat similar increasing patterns based on the desired width for the brim. For example, five DCs individually, then two DCs in the next stitch.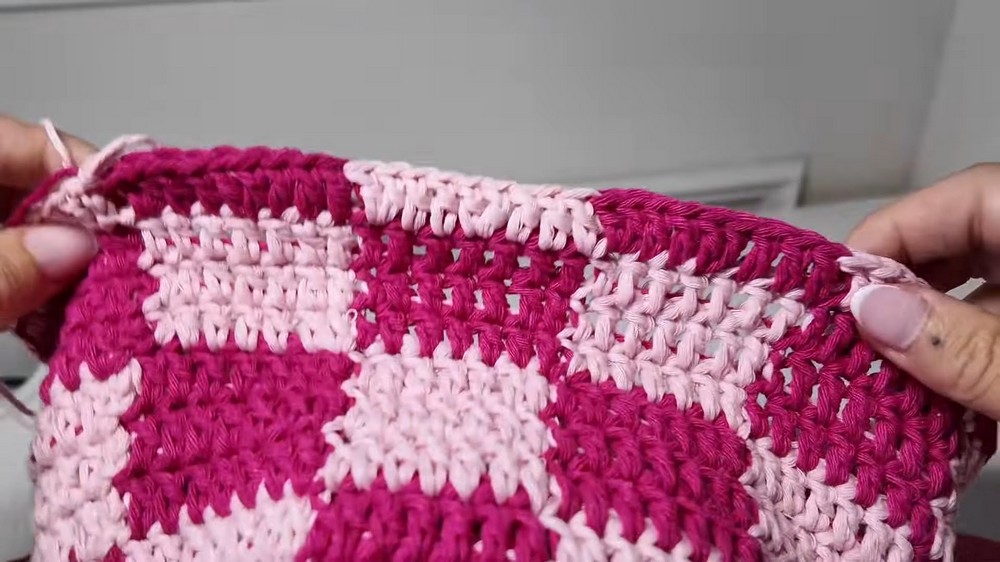
Finishing the Hat
- Once your brim is complete, end with a slip knot after the last stitch.
- Cut the yarn, leaving a margin, and pull through the loop to tighten.
- Use a tapestry needle to weave in any loose ends.
Optional Edge Trim
- Select a contrasting yarn color for the trim.
- Work single crochet stitches around the edge of the hat by inserting your hook through each stitch from outside to inside.
- Continue around the brim until the edge is fully outlined, and close with a slip stitch.
Final Measurements
- Typical base diameter: 17 cm (adjust by increasing or decreasing the number of rounds).
- Suitable height for the body: 8 rows.
- Brim measurements depend on personal preference for flair.
Final Words & Suggestions
- Adjust the size: For smaller or larger hats, add or subtract increase rounds at the base.
- Maintain tension: Use consistent tension throughout to ensure even stitching.
- Experiment with colors: Combine bright or subtle hues based on your style.
- Care tips: Hand wash your hat and allow it to air dry to preserve its shape.
Enjoy the process of crocheting and have fun styling your handmade bucket hat.
